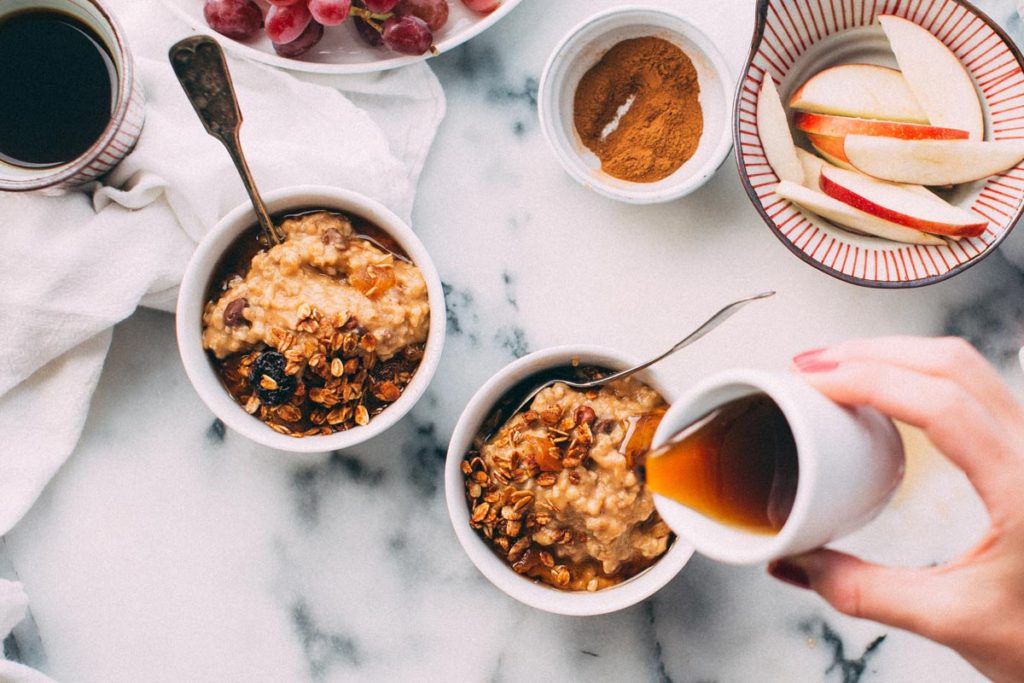
Foodie, foodporn, noms — these are just some of the phrases that have erupted along with the popularity of food photography and posting food pictures on social media sites like Instagram. So for many of us, it used to be enough to have something tasty to eat. Seems like these days, though, our food has to be Instagram-worthy.
If you’ve noticed, though, not all the pictures showing up on Instagram are of five-star meals prepared and perfected by professional chefs — many are ordinary homecooked meals made by ordinary people.
So how do their pictures make their food look so good?
When it comes to food photography, there are a few tricks and tips to keep in mind, and we’re going to share them with you so that your next meal, no matter what it is, is Instagram-worthy.
Food Photography – Tip #1
All About the Angle

The first thing to keep in mind when you’re photographing food is the angle at which you’re photographing it. The two most common angles are an aerial shot and a shot from the same level as your food.
Each angle has its benefits and downfalls, which is why it’s important to consider the main focus of your dish.
For example, if you made a mouthwatering burger and fries, your focus should be the burger. Because an aerial shot in this case would not do it justice, you’d just be photographing the bun. You probably want to get down on the level of the food and photograph the side of your burger, showing off all of its toppings and goodness. On the other hand, if you have a nice piece of grilled salmon with a beautiful mango salsa on top, an aerial view will bring out all the beautiful colors of your dish.
If you’re not sure which angle will work best for your meal, play around a bit and find the one that looks the best and shows off your food’s best assets.
Food Photography – Tip #2
Arrange Your Food

Your parents probably told you while you were growing up not to play with your food, but when it comes to getting the best photo of your meal, you might have to do some arranging and rearranging.
For example, let’s say you’re photographing a nice, juicy steak. Does one side have better grill marks than the other? If so, don’t be afraid to flip it and photograph its better side.
Mashed potatoes look a little lumpy and unappetizing in your photo? Take the back of your spoon and make a nice swirled pattern on the top.
If there is a way to arrange your food to make it look more appetizing in the photo, don’t be afraid to move it around to accomplish what you want.
Food Photography – Tip #3
Don’t Forget the Background

The best photos don’t just focus on the subject, in addition they focus on the negative space as well. Maybe negative space is the part of the photo, you don’t really pay much attention to, but maybe it can have a big impact on the subject.
In food photos, the negative space is typically the plate or the table, where the food is being presented. Though the people looking at your photo will be focused on the food, paying attention to the negative space can really make your food pop.
If you have several components that you are photographing, like a main dish and its sides for example, you want to make sure they are spaced in such a way that they don’t detract from one another.
And if your plate is aesthetically pleasing, either in shape or color, don’t be afraid to highlight that as well. It’s all part of the presentation.
Food Photography – Tip #4
Gussy Up
Food Photography – Tip #4

Don’t be afraid to add some garnishes to your food or clean up any imperfections. Did you drop some sauce on the edge of the plate where it didn’t belong? Wipe it up with a towel.
Is your dish monotonous in color and texture? Add a garnish. A drizzle of sauce, maybe a sprig or leaf of an herb like parsley, rosemary, or mint. Shavings of cheese or citrus peel can add interest, color, and texture to an otherwise dull plate.
There’s a reason why professional chefs do this in their restaurants — it can really make a difference visually. So just be sure to use something that makes sense with the dish. Because you don’t want to ruin the flavor for the sake of appearances.
Food Photography – Tip #5
Play Around

While these tips should be a good place to get started, don’t be afraid to experiment with your photos so you find out what works best for the dishes you make or eat at a restaurant.
We hope you find this advise useful!
PS: We also got some useful tips for landscape photography!


Comments are closed.