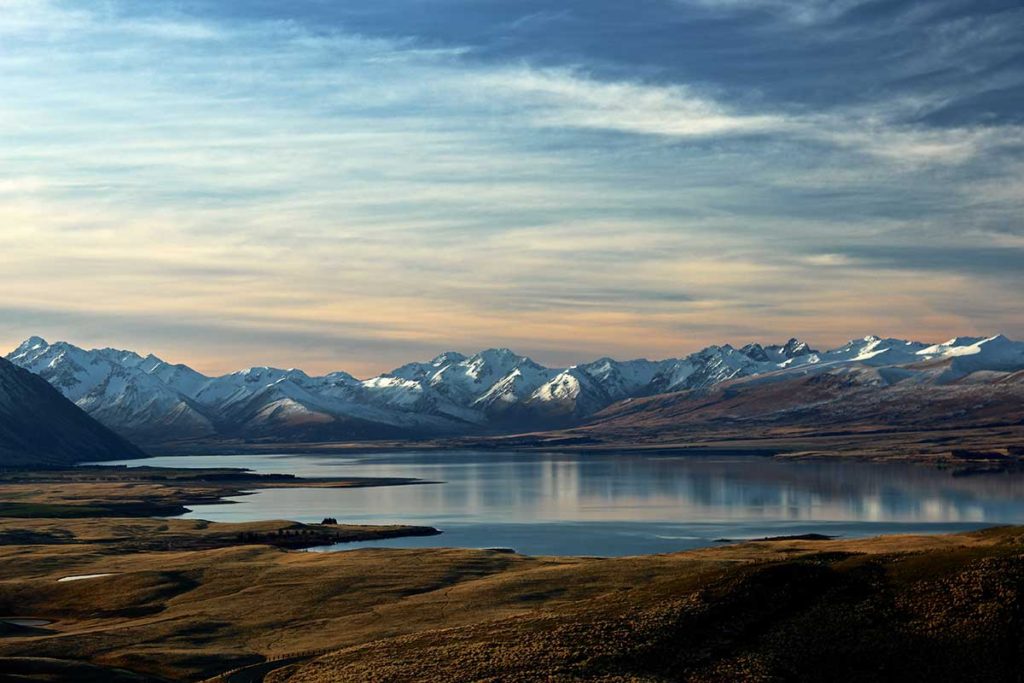
What can we do to learn the basics of landscape photography using a smartphone? Who’s got some landscape photography tips for us? Let’s face it, we’ve all been on vacation and yet still been disappointed when we see our snaps afterwards. Do we have to spend as much money as the vacation cost on a fancy DSLR camera? Or can we transfer some of the skills the pros use to the basics of landscape photography using our smartphones?
Happily, the answer to that latter question is an emphatic yes! But before you go ahead and start thinking about apps or anything else – I got some tips on how to get a great panorama shot.
Landscape photography tips to use with your smartphone camera
For many, it’s often a case of seeing a beautiful vista then pointing the smartphone in that direction and expecting amazing results. We may get lucky occasionally but can really improve our chances by following some simple rules.
Landscape Photography Tip #1
Basic Settings

Most smartphones nowadays offer some control over the camera but never zoom in using a fixed lens. This will result in the notoriously grainy shots smart phone cameras can be infamous for. The ISO should be as low as possible. Good landscape photos are generally taken either early in the morning or late in the afternoon when the sun is low in the sky providing softer light and more shadows.
Landscape Photography Tip #2
Composition

Firstly, most smartphones have a very large viewfinder which can help immensely in composition. Make sure, too, that you use your smartphone in landscape format and the largest resolution as you’ll get much better results.
Many people only look at the primary subject of interest in the shot while the mind blanks out the rest of the scene around the subject. This is natural and is why we see so many shots where the sea slopes away to one side or the top of a mountain has been cut off. Actively survey the whole scene through your viewfinder, from top to bottom, side to side and corner to corner. Most of the time water doesn’t flow uphill!
Pay close attention to what you actually see and your shots will improve instantly.
Landscape Photography Tip #3
Dynamic Layers

Another trick of landscape photography is to include objects which help to draw the eye into the shot. This can be something as simple as framing that lovely mountain vista with some trees, whilst being careful to ensure that nothing intrudes on the actual subject.
Include an object of interest in the foreground. Don’t just take a shot of the lake, include a portion of the shoreline or some rocks in the lower third of the picture as these will tend to draw the viewer into the picture, giving added emphasis to the real subject.
Landscape Photography Tip #4
Add a Person

If you have people in a shot make sure they are well away from the camera where they will appear to be more a part of the landscape rather than an intrusion. Again place people away from the dead center and don’t have them covering up your subject matter.
It’s often a good idea to snap your traveling companion(s) engaging with the landscape. Don’t worry that Uncle Joe has his face turned away from the lens, he’s actually enjoying the view, rather than grinning straight into the camera. Even having their backs to camera can really enhance a shot as people then become a part of the world around them.
Landscape Photography Tip #5
Cropping

A photo seldom has the same appeal if it has a horizon half way up the shot. Include two-thirds sky if it has a great cloud formation that will enhance your shot, or include more of the foreground. A photo also rarely looks so aesthetically appealing if the main subject is stuck dead center. Better use the golden ratio. That strange looking tree you want to record will look better if it’s not in the middle of the photo, allowing you to place it more ‘in context’ by including the scene around it.
Bonus Tip
Photo Apps

Many smartphone apps can be used to improve our images. Most, like Instagram, have a range of filters you can apply to any photo enabling you to make instant changes. Others, like Snapseed (available for Android and iPhone), are apps that enable you to edit specific parts of your image such as darkening an over-bright sky or bringing out an area that’s in shadow, but those are for another day.
In the meantime, get to know your smartphone’s camera capabilities and apply the simple rules of composition outlined above before your next vacation. Practise these tips, experiment, and your photos will improve. After all, there are few editing programs than can save a badly composed photograph, something that can easily be avoided by following these basic landscape photography tips for smartphones.
Best,
Felix from MyPostcard
P.S.: Did you like the article and the landscape photography tips we offered? Let me know on Facebook!


Comments are closed.