

Are you looking for a fun way to preserve memories for future generations? Why not make a time capsule! A time capsule is essentially a container filled with items that represent a specific moment in time. But it’s also more than that – it’s a wonderful way to capture memories and create a tangible connection to the past.
In this blog post, we’ll guide you through how to make a time capsule, answering five key questions along the way.
Can I make my own time capsule?
Absolutely! Anyone can make a time capsule. It’s a fun and creative project that can be enjoyed by individuals, families, and groups alike. The key is to decide what you want to include and to choose a container that will keep your items safe and dry for many years to come.
What is needed to make a time capsule?
To make a time capsule, you’ll need a container, items to include, and a location to bury or store it. Let’s break it down further:
Container: The container you choose should be sturdy, waterproof, and airtight. Popular choices include metal, plastic, or glass jars. Choose a size that will fit all the items you want to include.
Items to include: The possibilities are endless! You can include anything that represents the current moment in time or is meaningful to you. Some popular choices include newspapers or magazines, photographs, letters, artwork, and small mementos like tickets or souvenirs.
Location: You’ll want to choose a location that is safe, dry, and easily accessible. Some people choose to bury their time capsule in the ground, while others store it in a safe place in their home or another secure location.
What is the best material for a time capsule?
The best material for a time capsule depends on your needs and preferences. Metal containers are popular because they are sturdy and can withstand the elements, but they can also be expensive and difficult to find. Plastic containers are lightweight and affordable but may not be as durable over time. Glass jars are also an option, but they can break easily if not handled carefully.
Whatever material you choose, make sure it is airtight and waterproof to protect your items from moisture and other environmental factors that can damage them over time.
How do I start writing a time capsule?
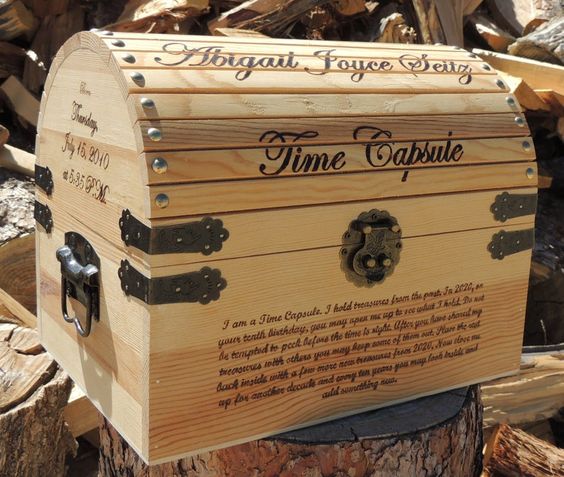
Before you start filling your time capsule with physical items, consider adding some written content to it. This can be a letter to your future self, a message to future generations, or a snapshot of your life right now. Here are some tips for getting started:
- Think about what you want to say: Consider what you want future readers to know about your life and the world around you. What are your hopes, dreams, and fears? What do you want to remember about this moment in time?
- Choose a format: You can write a traditional letter or create something more creative like a poem or drawing. Just make sure it’s something that will withstand the test of time.
- Get personal: Don’t be afraid to share your thoughts and feelings. This is your chance to connect with people in the future and give them a glimpse into your world.
What are the best ideas for making a time capsule?

When it comes to deciding what to include in your time capsule, the sky’s the limit! Here are some ideas to get you started:
- Newspapers or magazines: Collect a few current issues to give future readers a sense of what was happening in the world at the time.
- Photographs: Take pictures of yourself, your family, your friends, your home, and your community.
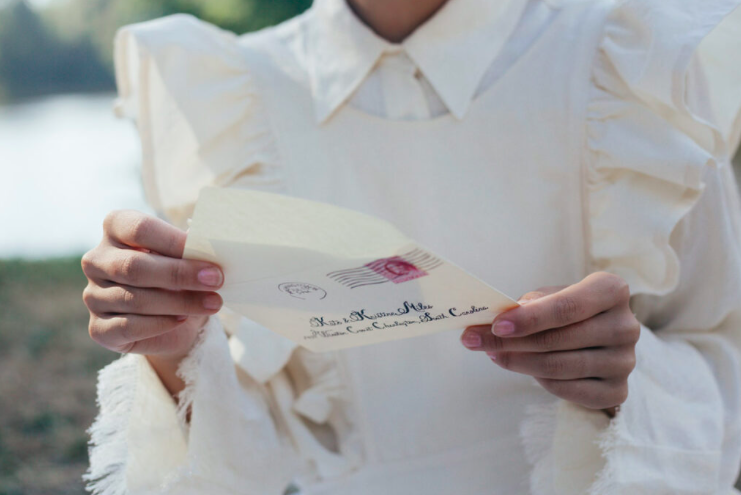
- Letters: Write a letter to your future self or to someone in your family who will read the time capsule in the future.
- Artwork: Draw or paint a picture that represents your life right now.
- Mementos: Include small objects that have personal significance to you, like a favorite piece of jewelry or a ticket stub from a memorable event.
Here are some more specific ideas:
- A current calendar: A calendar can provide a snapshot of what life was like at the time you created the time capsule.
- A playlist of your favorite songs: Create a playlist of your favorite songs or popular hits from the time.
- Recipes: Include some of your favorite recipes or ones that are popular at the time.
- A current map: Include a map of your town, city, or country to show future readers what the area looked like at the time.
- A piece of technology: Include an old phone, iPod, or other gadget to show future readers what technology was like at the time.
Remember, the items you choose to include should be meaningful to you and representative of the time in which you live. The more personal and creative your time capsule is, the more enjoyable it will be to open it up years from now.
Your step-by-step guide to making a time capsule
Step 1: Choose a Container
Select a sturdy container that will protect your items from water, humidity, and other environmental factors. Some popular options include plastic or metal containers, PVC pipe, or a sealed mason jar.
Step 2: Choose Your Items
Decide what items you want to include. Consider adding a mix of personal items, cultural artifacts, and current news articles to provide a comprehensive snapshot of the time.
Step 3: Prepare Your Items
Gather your items and make sure they are clean and dry. Consider wrapping fragile items in tissue paper or bubble wrap to prevent them from breaking during storage.
Step 4: Seal Your Container
Place your items in the container and seal it tightly. Consider adding a layer of plastic wrap or vacuum seal the container to ensure maximum protection.
Step 5: Store Your Time Capsule
Store your time capsule in a safe, dry place. Consider burying it in the ground, storing it in a closet or attic, or donating it to a local historical society or museum for safekeeping.
Step 6: Make a record
Create a label or marker to identify your time capsule and record the date it was sealed. Consider leaving a note or letter with the time capsule, explaining its significance and what you hope future generations will learn from it.
Step 7: And… it’s finally time!
Choose a date to open your time capsule, whether it’s in five, ten, or twenty years. Invite friends and family to join you as you uncover your memories and reminisce about the past.
Have fun making memories!
Making a time capsule is a fun and creative way to capture memories and preserve them for future generations. With a little planning and some creativity, anyone can make one that will be a cherished memento for years to come. So why not get started today?
Comments are closed.