
")
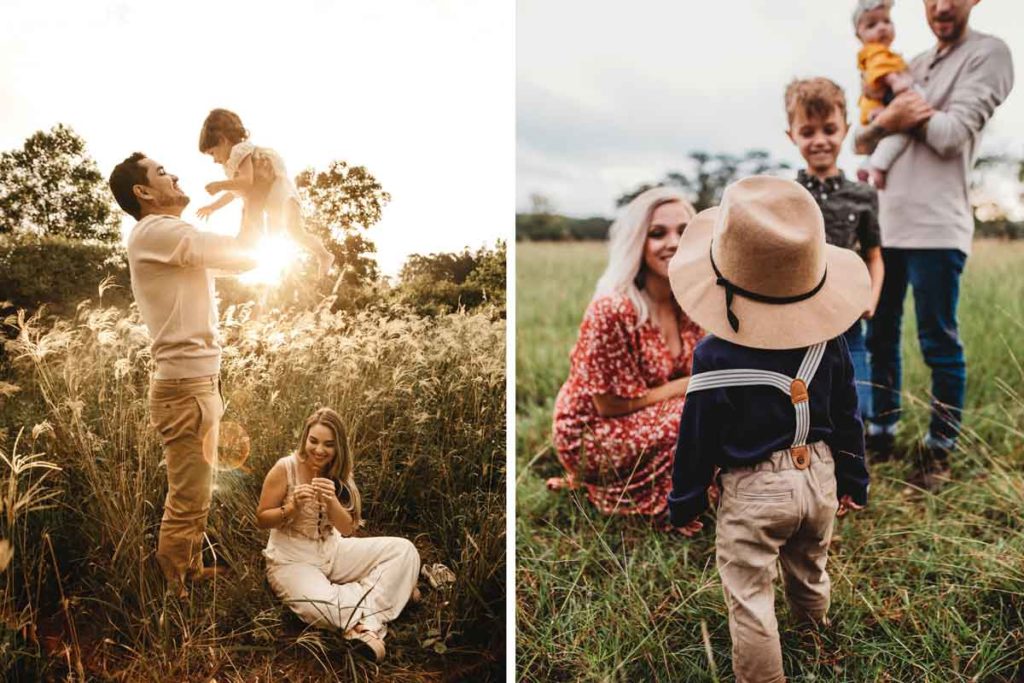
Family portraits can be a real challenge if you’re taking care of it yourself. Whether you take your photos on your phone, or you’ve made this passion into your career, what you’re attempting is big: stopping that shared moment in time and making sure that in a few generations time, your great-great-grandkids could be looking at it! Which is reason enough to use these tips to take impressive and authentic photos… and to capture a wonderful moment!
The perfect family portrait begins with good communication

Most people don’t pose for professional photos on the daily. So they’re not necessarily used to doing it and this can cause a little bit of tension 😉 Because if you’re not just looking to shoot a technically perfect but also a natural-looking family photo, then you need to make especially sure that all the participants are feeling comfortable during and after the shoot. Even in the model industry, a good chemistry and bit of communication goes a long way towards creating the perfect picture.
Which explains the tip: having fun with the kids or chatting about relaxed topics like traveling, vacations or hobbies with the adults before the photo shoot avoids things getting tense. Equally, it makes a lot of sense to agree on a plan in advance. Who’s going in front? Is this going to be a laid-back photo for the album or a group portrait which wants to be a little more serious? How many people are in it? Get yourself caught up.
Step 1: What’s in Vogue?
Before it begins: one of the most frequent questions asked before a photo shoot is… what do we wear? The idea being that the whole family is dressed at least mildly coordinated. And by that we don’t mean that you try rocking the twin look, but rather, that the whole style of clothes should fit together – preferably without anyone feeling like they’re wearing a different person. So is a laid-back closet required or should everyone wear something a bit more on the elegant side? Are we going for similar colors, a set of patterns or perhaps channeling a certain decade?
One more thing to avoid where possible: Big images or slogans on shirts which take up too much of the limelight.
Step 2: The equipment

It’s not just your camera which has earned a place in your photography bag. There’s also your lenses and tripod just to start with. Here’s a list of essentials you need to have before you get started:
Lenses: zoom or a fixed focal length?
Find out what works for you – a zoom lens is obviously not a must for a family portrait (given that you can zoom in and out on your own two legs!) But a zoom function would allow you to be more flexible, especially if the little ones are still quick to wander away and you need to catch the moment in a hurry.
A lens with a fixed focal length (where the focal distance cannot be adjusted) is usually characterised by a better image quality, allowing a larger aperture.
The largest possible aperture: what is clearly a massive advantage in some photography areas, is perhaps not as important for a family portrait. A slightly more closed aperture is always advisable here (more on this later).
Need more on mastering the zoom? Look no further!
Wide-Angle Lens
A family can be made up of just a few members, a small town, or anything in between, so… obviously you’ll need a wide-angle lens for a bigger family so that you can fit everyone in the shot. Especially if there’s not a whole lot of space available. This is a good reason to get out a wide-angle lens. But remember: some distortions may appear in your photo when using a wide-angle lens.
Long-focus lens
Lenses with a longer focal distance are more flattering. While wide-angle lenses can lead to distorted photos, this doesn’t happen to photos taken using a longer focal distance lens. They also handily capture a blurry background (which can be very useful for portraits). But even for this – make sure to check out the location in advance, as there may not be enough space at the location to use a long focal distance.
Your tripod
When you’re not working with an assistant (which most of us aren’t) then you absolutely need a place to set up your flash. The best tripod for a family photo will be portable and robust, just as it is for wedding photos. As a family photographer, you don’t need to have a tripod for your camera, since you’ll mostly be working with short shutter speed.
Other accessories for the perfect family photo
The camera, lenses and lighting equipment are obviously the main things you should think of. But there’s also a few smaller accessories which belong in your camera bag, if you want the shooting to go off without a hitch.
Memory cards: Check (and then double check) that you have more than one memory card in your bag. If one gets filled up, then you’ve got access to a spare quickly. Check before every shoot that you have enough memory available.
Batteries: Less is more? Not in photography! Always take spare batteries or a replacement cable with you, just to be sure.
Reflectors: When photographing a group of people in backlighting (more to come on this too), it makes sense to use a reflector for help. A plus? You look really cool too. 😉
Need more advice on lenses? Find the necessities right here.
Step 3: The Timing
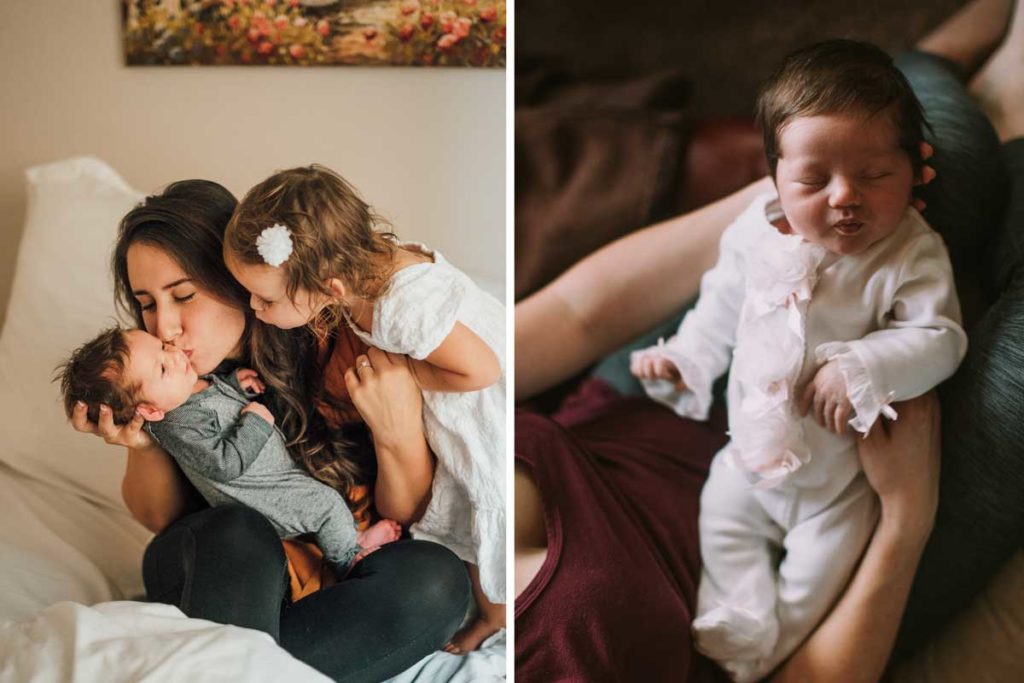
For a family photoshoot with little kids, the timing could hardly be more important. This might make the organization slightly more complicated, but keeping up with the natural cycle of your children is absolutely vital – sleepy, exhausted or hungry children do not make for smiley subjects of a photoshoot!
Try to keep their natural rhythm in harmony with a time frame full of natural light. That means arranging the photo session to start ideally early morning.
However – every family is different and their time schedules are never the same. Which is why you should probably take a second to check what works for them.
Step 4: The lighting
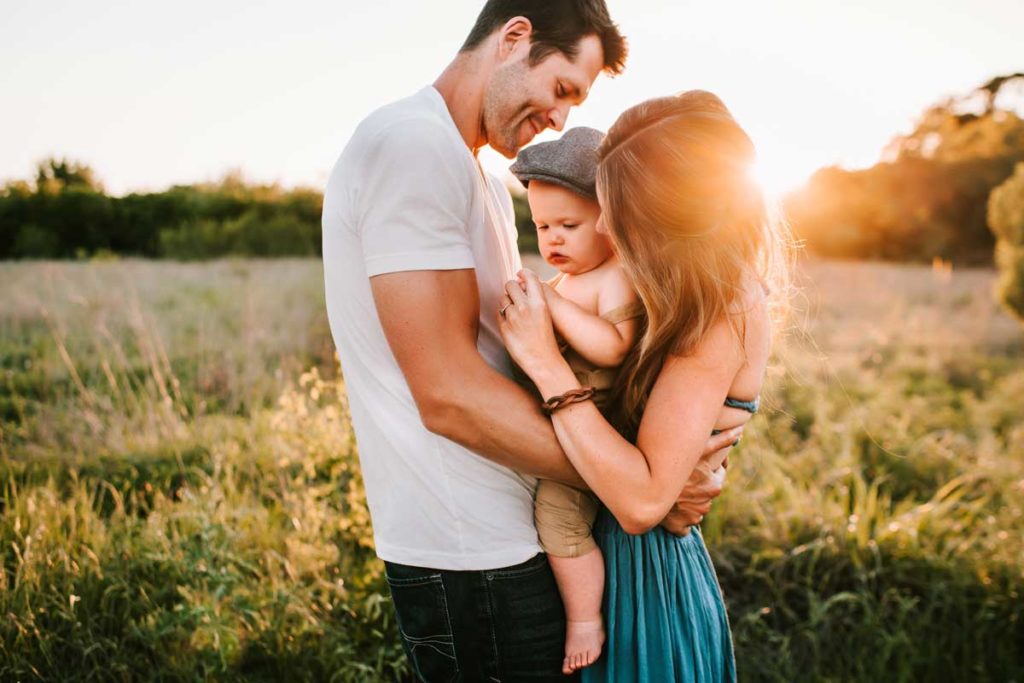
From the off we need to make it clear that this paragraph is no in-depth introduction to light settings. It serves better as a short summary to help make sure your family photo shoot goes to plan.
Some schools of thought think that photography in back lighting is not the ideal, and that a group of people should always turn to face the light directly instead. But imagine this scenario for a second: the family members turn to the light … upon which the light gets in their eyes which begin to tear up. Let’s not even get started on an unflattering set up in the shadows 🙂
Here’s some tips on taking photos in direct sunlight if you do decide to stick to your guns.
Step 5: The right aperture
Try to focus completely on the models. You can do this through the composition of the image (more on that later) but also through your camera settings: the aperture.
By using an aperture, you can regulate the amount of light and the depth of focus in the photo. A higher aperture means that not only will the models in the foreground be in sharp focus, but also the background. For a portrait, this is (usually) a negative.
But be careful – an open aperture doesn’t ensure the perfect photo. The depth of focus isn’t enough to bring everyone in the group into focus. Instead, try to find the happy middle ground with a middle aperture.
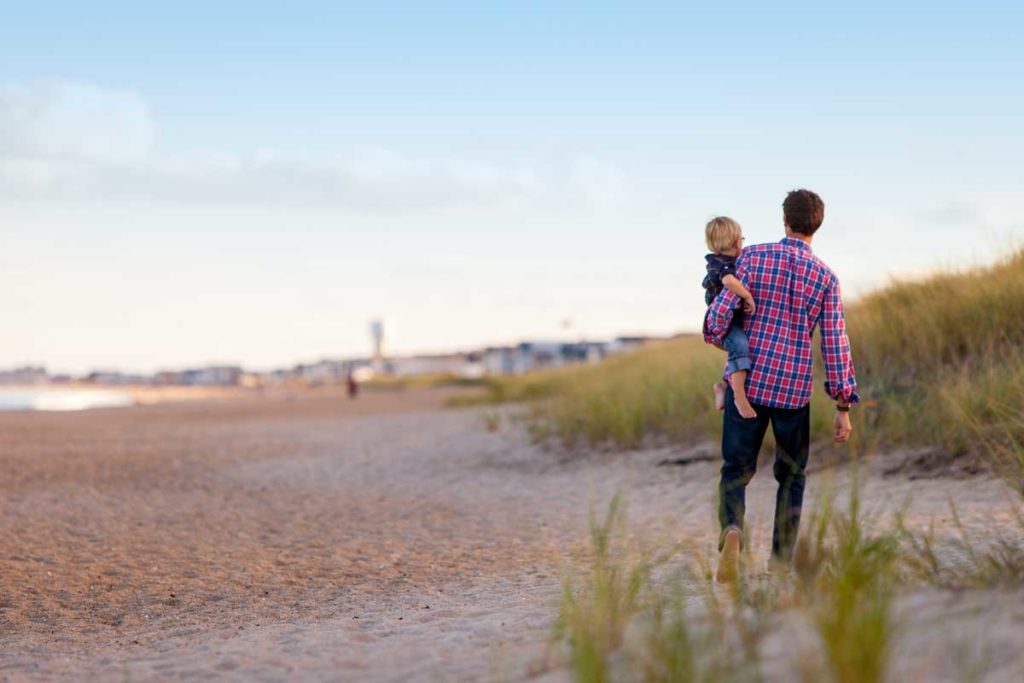
Step 6: The Location

Before you press the trigger on the camera, you’ve got to take a look at your camera settings, checking the exposure time and flash as well as filter settings and so on.
In the middle of all of that, it’s easy to forget the set up of the photo. Don’t just pay attention to the technical details and good communication with the models, but also to the background (even if it’s going to be unfocused).
You should try to avoid dark or cluttered backgrounds, since these can distract from the scenery in the foreground. But other surroundings work well too – so feel free to find a spot of nature and make use of the greenery.
People photographing indoors will find it harder to achieve a natural looking light as well as a nice location. Make use of the aperture! An open exposure may be key.
If you need to go for an indoors scene, then make use of it – here’s how to brighten up any space.
Part I: Advice for the perfect family portrait
This first part is all about the planning, technology, lighting and having the right attitudes for the perfect family portrait. We’ve learned that communication and fixed arrangements with the ‘models’ are massively important, especially when it’s all going to hook on timing.
As well as this, you’ve got to know what belongs in your camera bag. Do you need a zoom lens or a separate flash? What does the lighting situation look like? Equally, you need to take a reflector with you. Check out the photo location and the right time of day.
You’ll learn more about the correct settings so that you can achieve the perfect family portrait. Want to learn more about the perfect family portrait?
Continue to part of our family portrait photography guide here.
Comments are closed.