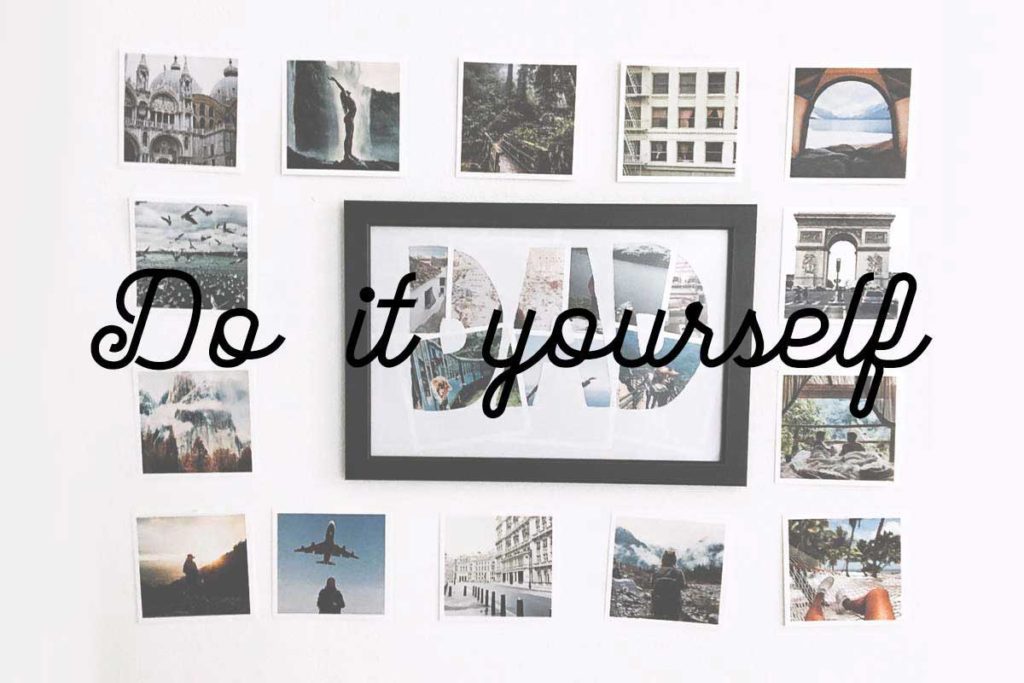
On sunday the 18th of june is Father’s Day and on this day we want to celebrate our Dads and show them how much they mean to us and say THANK YOU! Do you already have presents for Fathers Day? – Don’t mind if you have no plan because this might be the reason why you are reading this article ;).
Today we will show you two easy but still special and creative DIY gift ideas for your dad.
Presents for Fathers Day – DIY 1
A personal photo collage

Photos are always a perfect gift because holding your most amazing memories in your hands is something special! Today I will show you how to personalize your photo collage. It’s super easy – I swear!
Step 1
All you need

..is a photo frame, some white paper, photos of your choice, scissors, a pen and a ruler.
Step 2
Choose your word

First step is to decide which word you want to be shown by the collage. We think DAD is the easiest so that’s what we decided to go with! Now you draw the word on the white paper.
Draw the letters as wide as you can because this will create more space for your photos!!!
Step 3
The right cut

If you’re ready with drawing your word on the paper it’s time to cut it out. Grab your scissors and let’s go!
Step 4
Creating the Collage

Afterwards we come to the best part. Take another white paper and arrange the photos the way you think the fit together. When you think you’re done grab the paper with the cut out word and place it on top – Now you can see your cutted word filled with your photos.
Step 5
Framing, wrapping and ready!

The last step is to put your collage into your photo frame and wrap it if you want. A sweet personal card or letter would be the icing on the cake and ready is your personal Father’s Day gift for your dad.
Presents for Fathers Day – DIY 2
A photo fanfold

Our second DIY is handy photo fanfold. An easy way to combine your favourite photos to be hold in someone’s hands.
Step 1
All you need

Some cardboard in the colour of your choice, your favourite photos, scissors, a pencil, a ruler and some glue.
Step 2
Time to measure

The first step is to measure how wide your cardboard need to be that the photos will fit in. Place the photos onto the cardboard and leave 1cm free on all sides.
Step 3
Creating the fold line

After drawing the outer line you need the fanfold line. Et voilà everything is ready to be cut out!
Step 4
Cutting and folding

To create your photo fanfold you need to fold the edges. ( Use a ruler du create sharp and perfect folded edges.
Step 5
Glue glue glue

After creating your fanfold all you need to do is to glue your favourite photos on each side and after this your almost done.
Step 6
Cover Creation

A nice little extra is to create a cover out of the top side of the fanfold. You can write a little message to your dad on it to make it as personal as possible. And the last step is to take a pretty ribbon to keep the fanfold together.
READY!!!!
Psssst…
If you have no plan where to print your photos on high quality paper check out our app! HERE is the place to create some beautiful and personal photo boxes easy from home or on your way.
Lovely greetings,
your Greta from MyPostcard!


Comments are closed.