

By Melody Peralta
My mother always told me that her favorite Mother’s Day gift that I have ever given her was a handmade memory book that I created in the 5th grade. Twenty five plus years later and she still has it! When I asked her why she kept it for so long she told me that it was because I had put so much effort and heart into it. To this day, this is the reason why homemade gifts will always be my go-to when I want to gift something extra special.
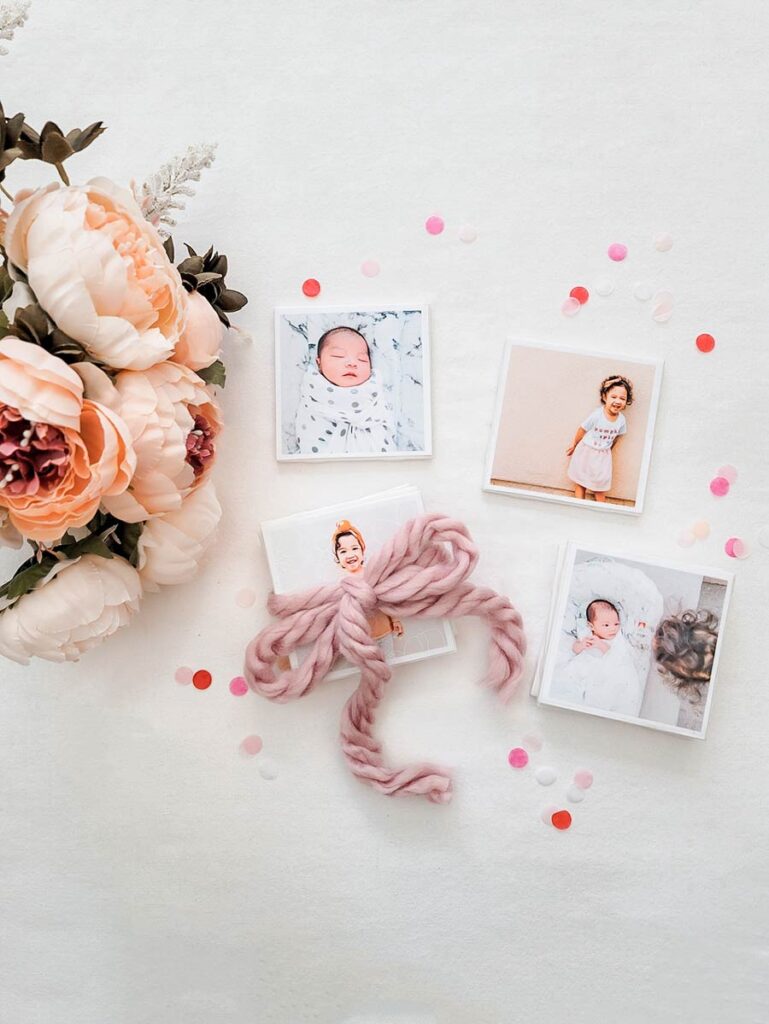
With Mother’s Day and Father’s Day right around the corner, what could be better than a homemade gift from the heart? These DIY Ceramic Coasters only cost a few dollars to make and will serve as both beautiful memories and functional home décor. Best of all, the instant photo prints from MyPostcard are the perfect size for this project! With a little bit of a trim, they are the just the right size to make a memorable gift for a friend or loved one.
Here are the materials you will need.
Materials
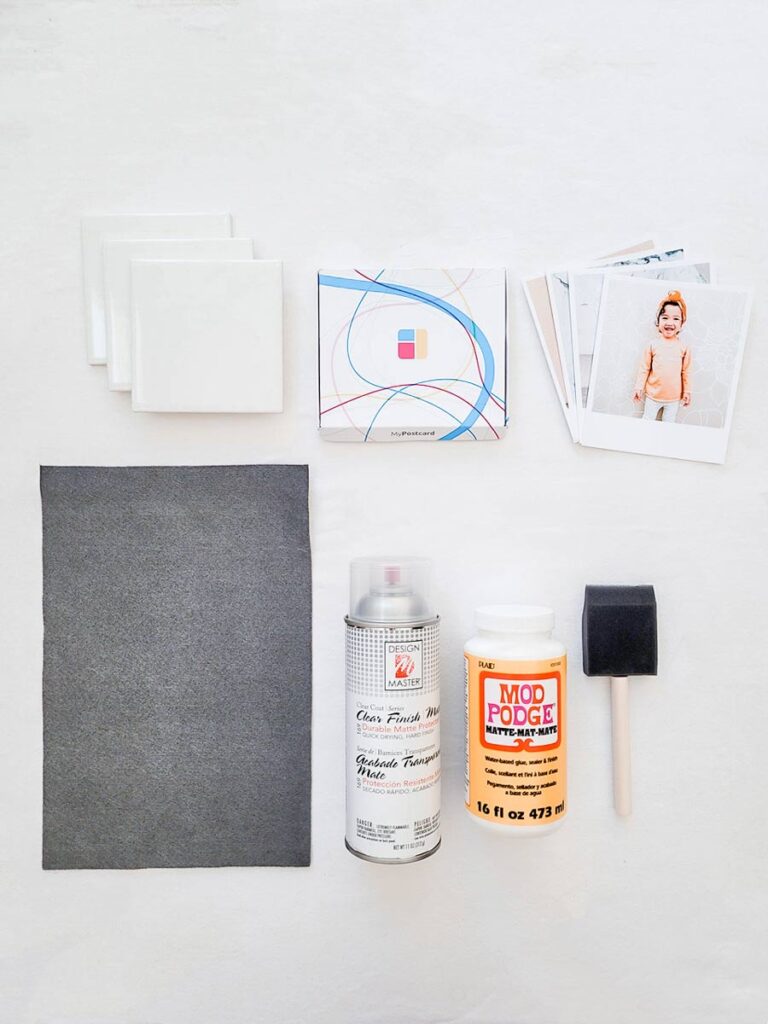
- White Ceramic Wall Tile 4.5 inches x 4.5 inches
- Felt
- Mod Podge – water-based glue, sealer, finish
- Flat Sponge brush
- Clear Finish Matte Protectant Spray
- Glue gun with glue sticks (not pictured)
- MyPostcard Photo Prints in ‘Instant’ size
Directions
Step 1: Trim
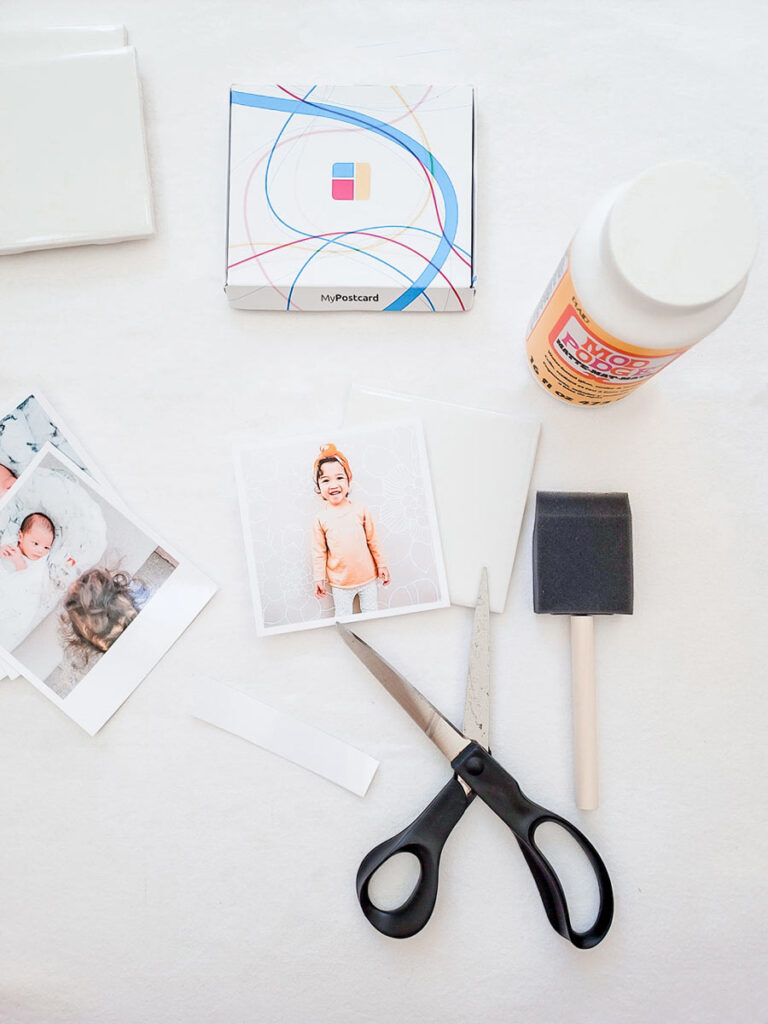
Trim the MyPostcard photo print to a square that fits the ceramic tile. I used colored prints, but black and white would make a beautiful aesthetic.
Step 2: Apply Mod Podge

Wipe the ceramic tile with a clean cloth to remove any dirt or dust. Apply a thin layer of Mod Podge using a sponge brush. Use sweeping strokes in one direction for a clean look.
Step 3: Position and stick your photo
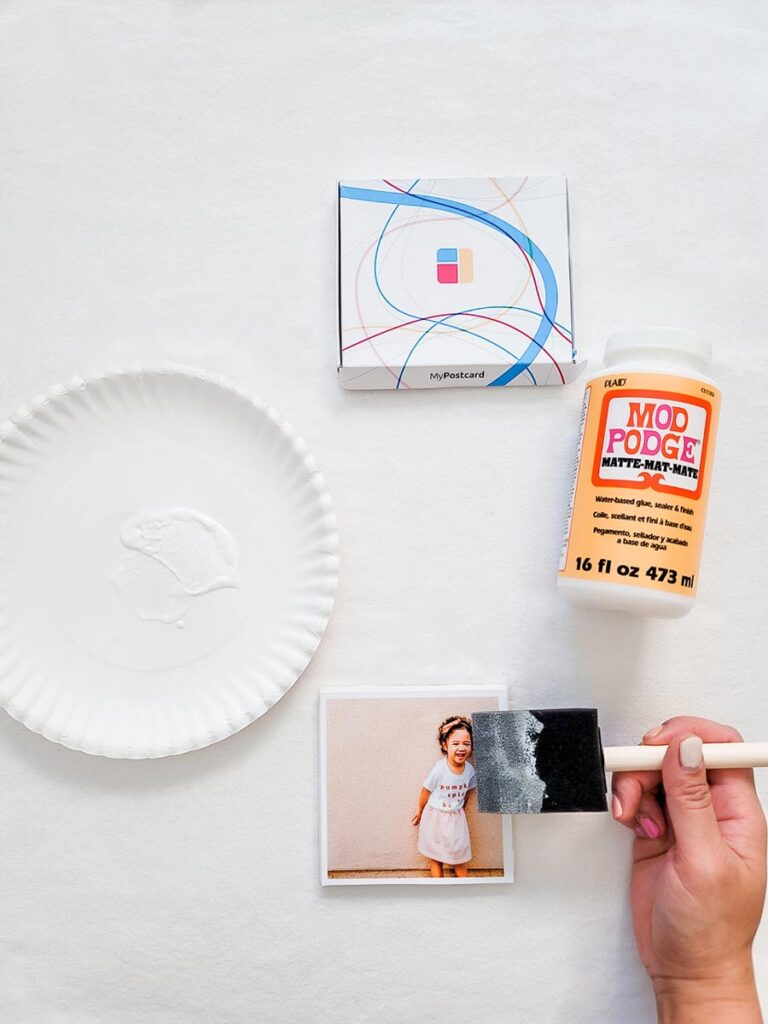
Work quickly to stick and position the photo onto the tile.
Tip* Place a book or something flat and heavy on top of the tile to keep the corners of the photo down and prevent curling. Let it dry a few hours, then apply your first thin and even layer of Mod Podge on top of the photo. (It will appear white but will dry clear).
Step 4: Layer Mod Podge and repeat
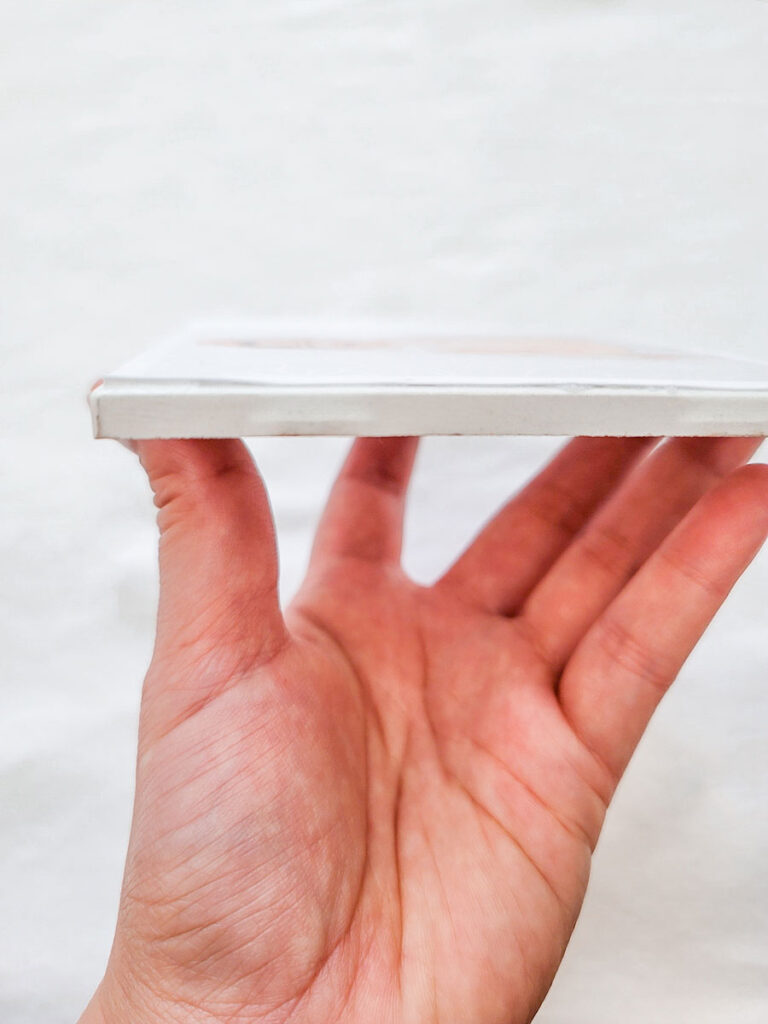
After the first layer has completely dried (about 24 hours). Apply a second coat of Mod Podge, using the sponge brush to fill in any gaps between the photo and the tile (see photo). Let dry another 24 hours before applying a third and final coat of Mod Podge.
Step 5: Coat of protective spray
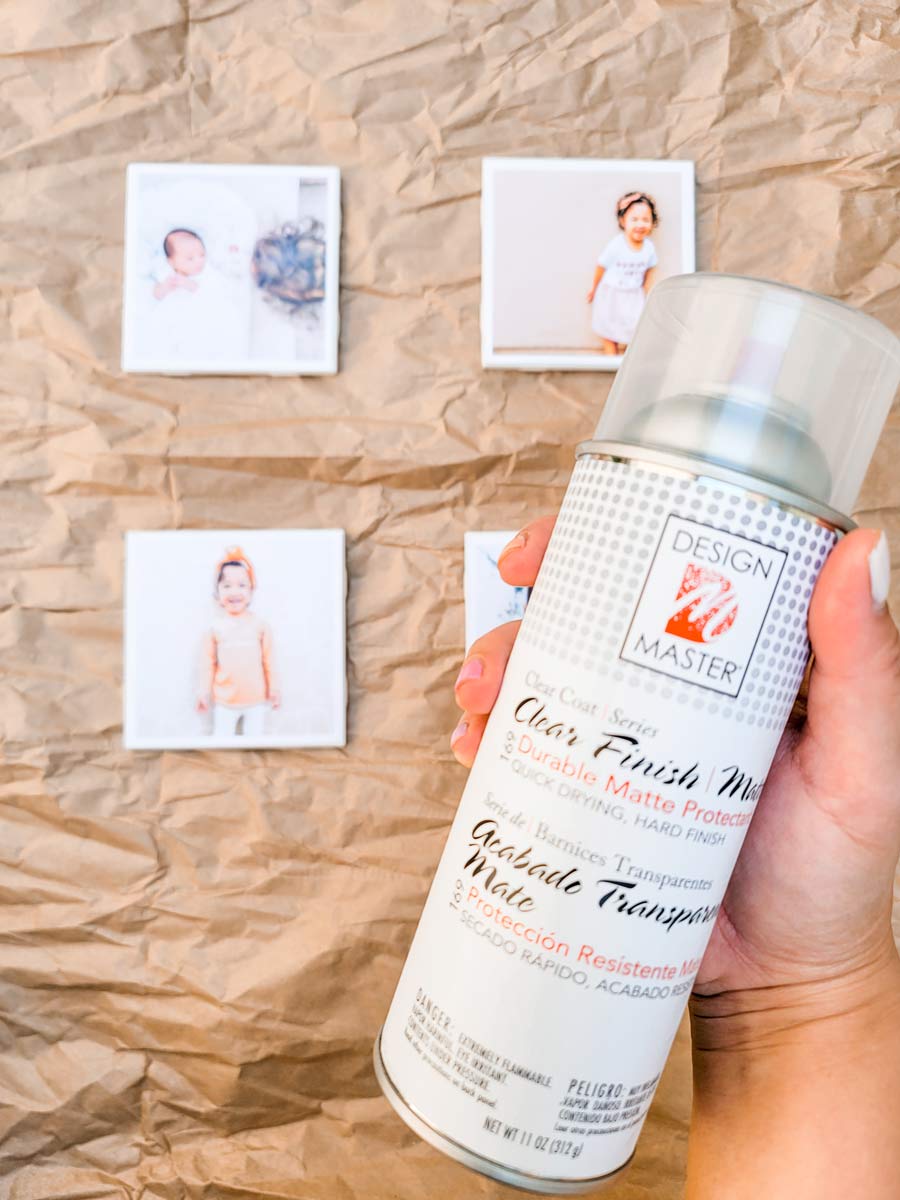
In a well-ventilated, shaded area, lay out your coasters on top of a drop cloth or scrap newspaper and spray with a coat of clear protectant spray. Make sure to spray from a slight distance to prevent it from puddling. Let dry a few hours and apply a second coat. This is what helps the coasters stay water-proof. Apply a third coat for extra protection.
Step 6: Glue felt to back
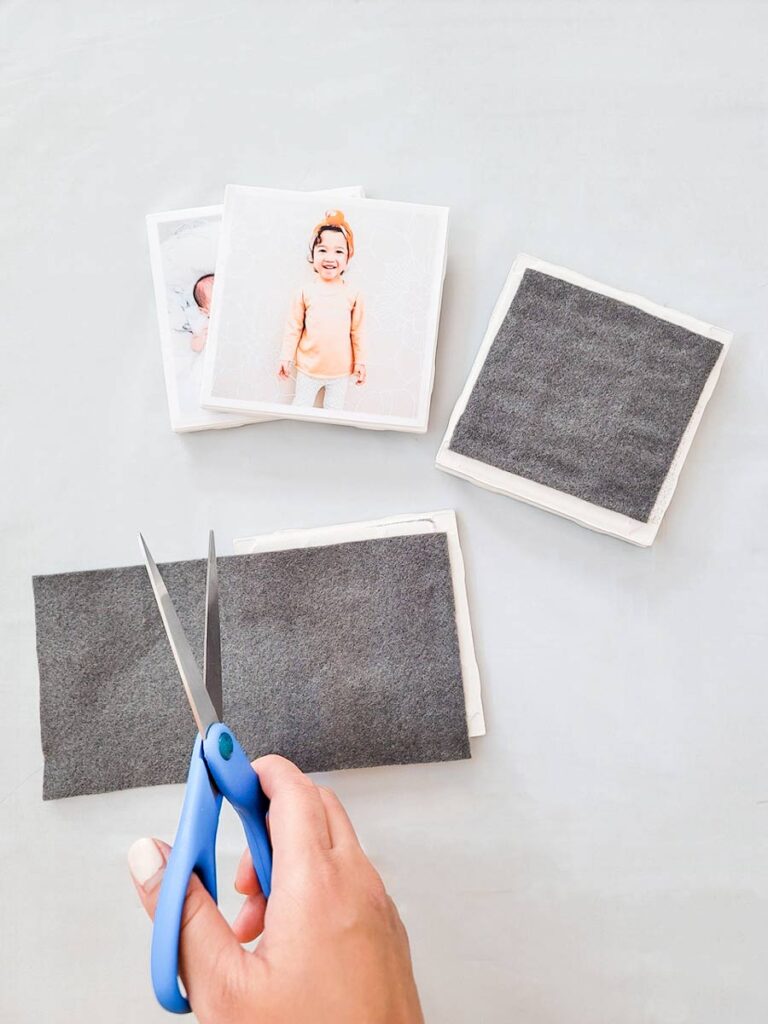
After they have completely dried, cut out a square of felt that is slightly smaller than the tile and adhere to the back using hot glue.
Voila! DIY Coasters that will last for years to come.
Make sure to give yourself a few days to complete this project as drying times may vary. I typically waited 24 hours between each layer of Mod Podge to make sure it was completely dried, and used quick-drying protectant spray so I only had to wait a few hours in-between each coat.
Though we may not be with our loved-ones in person just yet this Mother’s Day and Father’s Day, this heartfelt and homemade gift will be a lovely reminder of the good times from the past and joyful times ahead.
Do you prefer to give homemade gifts or store-bought? Let us know in the comments!
About the author
Melody is a holiday-loving, DIY & craft-making, motherhood, and lifestyle influencer from Southern California. She’s also a military spouse, an elementary school teacher, and has an energetic toddler named Izzy and a baby boy named Max. In her free time, she enjoys cooking, party planning, and dabbling in home decorating. Follow along for more crafting fun on Melody’s Instagram, @melodyinthemaking!
All images on this page are credited to Melody Peralta.
Comments are closed.