

By Janine Berger (translated from the original)

As Christmas comes around, we reflect on the things that have the most value for us. Spending time with our family is at the top of that list. But we also enjoy the little things – like the lovingly wrapped presents! The best gifts under the Christmas tree are the ones that the recipient will still be raving about the next year. Finding such a gift, however, presents us with a major challenge every year. Although the beautifully decorated shop windows in the city center are filled with countless gift ideas, the spark doesn’t always materialize. And I catch myself, again and again, standing in front of the shop window humming and just enjoying the Christmas decorations.
Shortly before Christmas, the panic sets in because I still haven’t got all the presents for my loved ones. Or all the names on the list have been neatly checked off, but it in the pre-Christmas stress, one gift or the other gift has gotten lost. Finding a suitable gift at the last minute is often difficult to say the least!

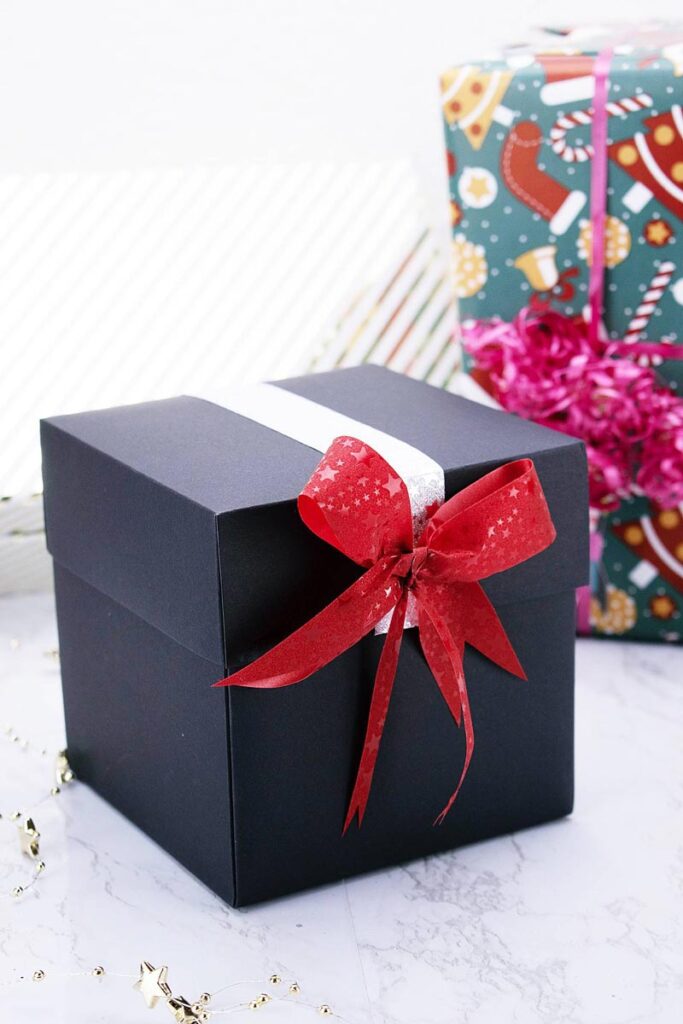
A personalized DIY gift idea for Christmas – The Explosion Box
Although I do appreciate a little thoughtfulness, I am generally not the type of person who likes to receive gifts. Instead, I prefer to make others happy and show them love and affection, or use gifts as a way to say thank you. So this year, I have again ventured to make lots of homemade and personal gifts to help us through these dreary times and bring long-term joy. This is how the personalized explosion box came to be. Its contents ensure surprise while the carefully selected photos inspire an excitement that reaches the heart of the recipient. After all, there’s nothing more precious than moments experienced together and the memory of them – now more than ever.
What is an Explosion Box?
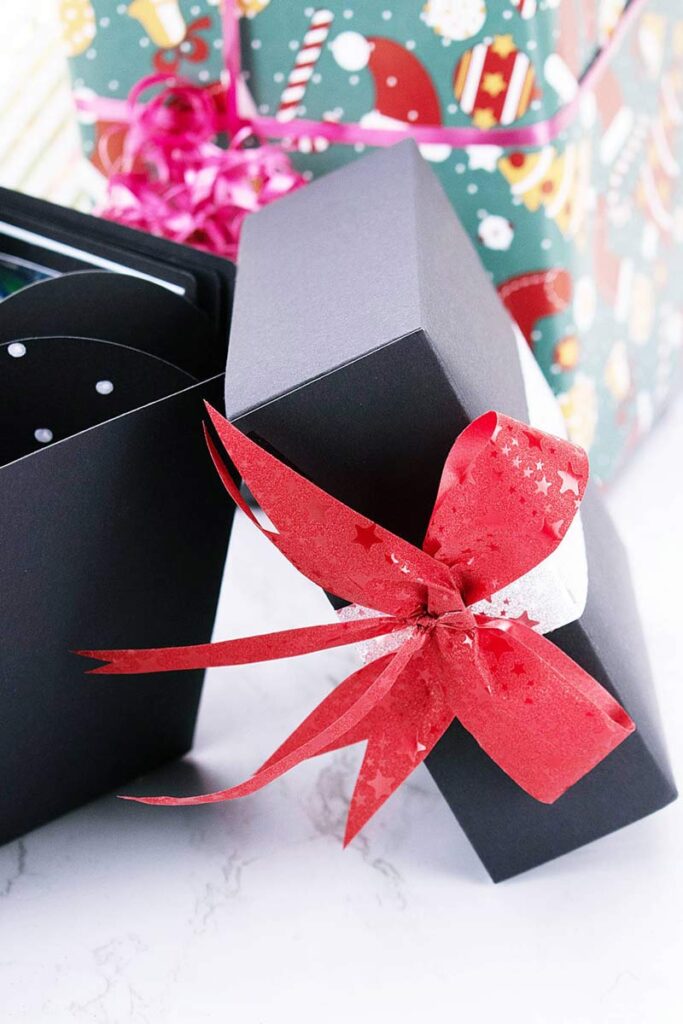
An explosion box is a box that is not only filled with various things, but also falls apart when opened. The insides of the box are thereby elaborately designed and thus revealed in a very unique way.
Things you‘ll need:
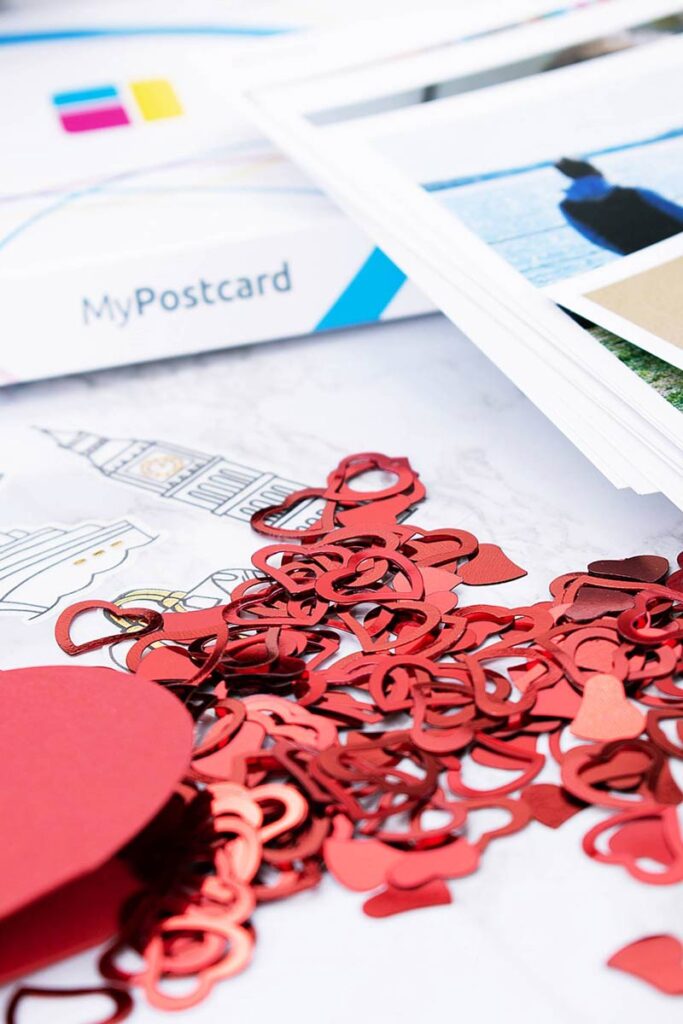
- A plain explosion box template
- Photos from MyPostcard
- Ribbons
- Double-sided adhesive tape
- Stickers
- Gel pens
How to make your own Explosion Box:
This beautiful gift idea actually requires little craftsmanship know-how. With just a few touches you can make a very personal and emotive gift that will bring a smile to people’s faces with memories of moments shared together. This makes the explosion box an ideal gift idea for a variety of occasions, such as an anniversary present for your partner, a gift for Mother’s Day, for a birthday or at Christmas.
The box should be available for purchase as a plain template in most big pharmacies or online. If you are looking for a little challenge, you can also make the box yourself at home using a printable.
Step 1: Choose your photos

Before we can begin crafting, we must first gather a few beautiful moments experienced together! I ordered the selected shots via the MyPostcard app. All I had to do was choose one of three different formats and upload the images to the app. After cropping them to suit my own preferences, I was also able to add some lovely words to them.
Each format can be ordered as a 15, 22, or 30 piece set.
It’s quick, easy, and straightforward to create the perfect print this way. The rest gets taken care of by the MyPostcard team.
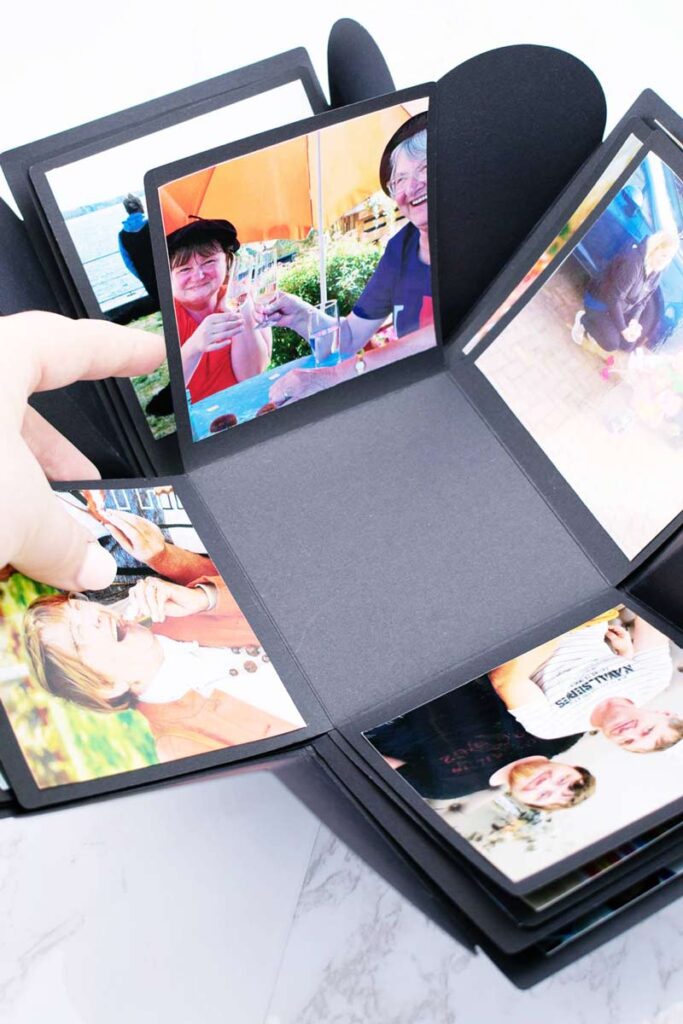
Step 2: Glue photos to the box
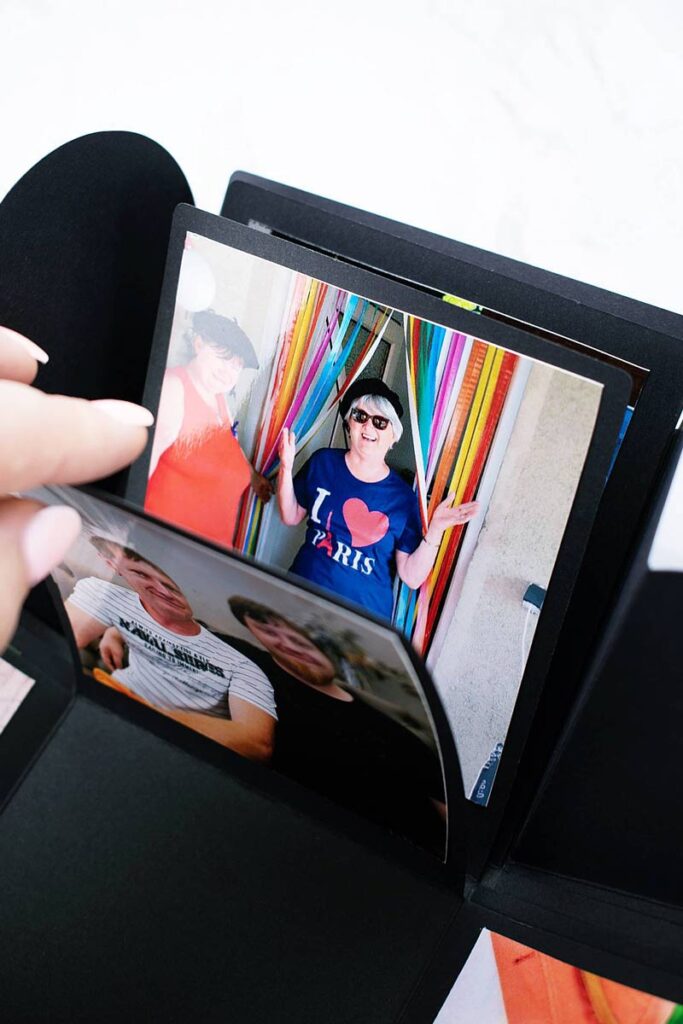
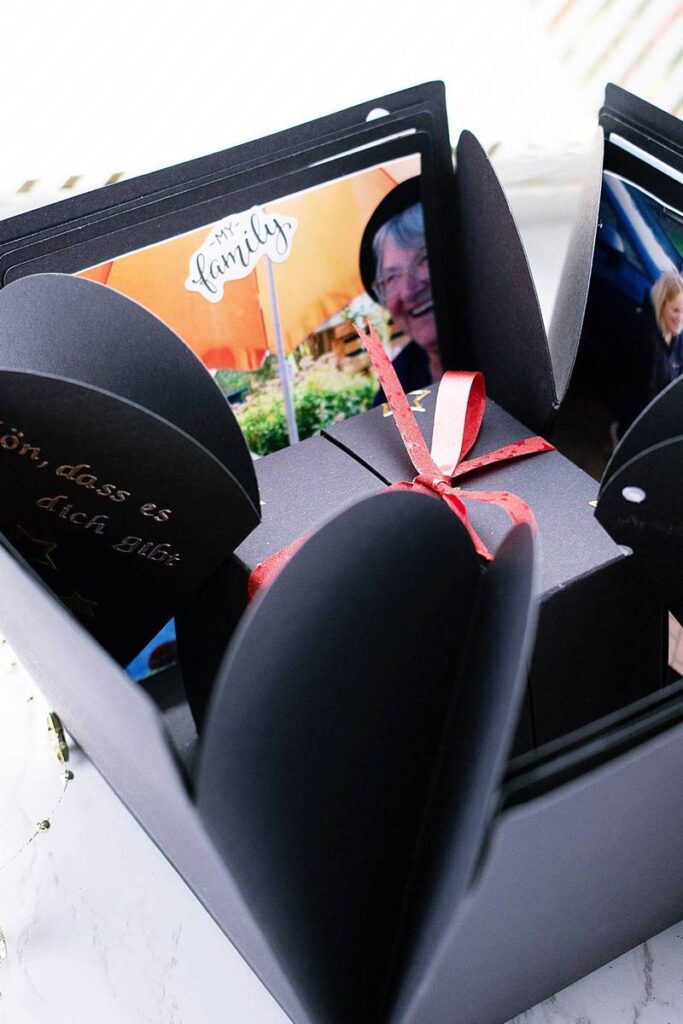
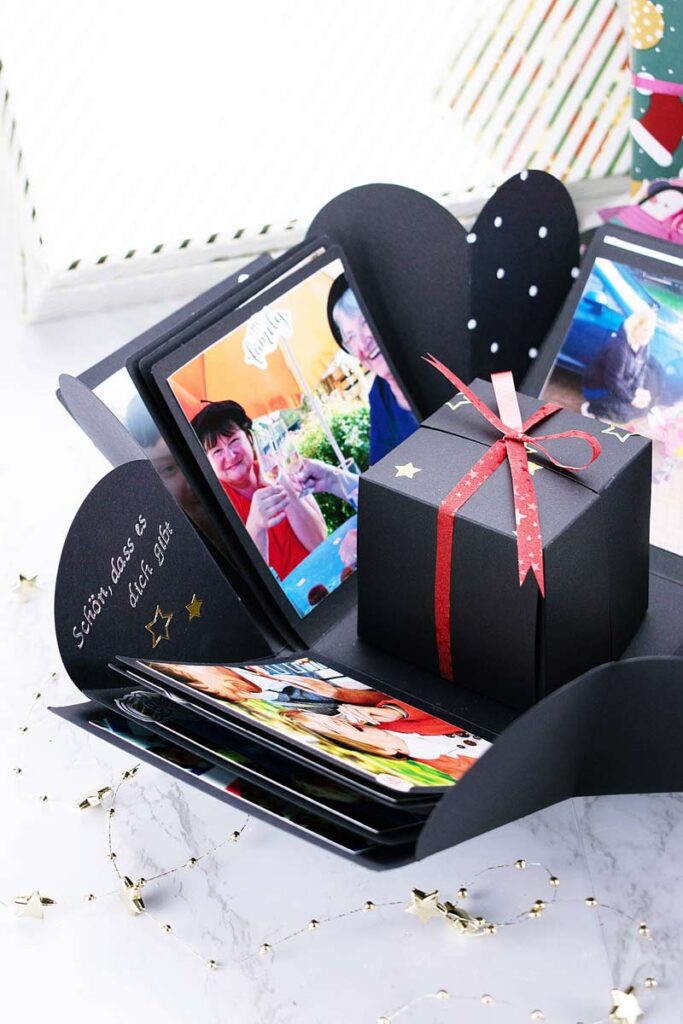
Once the finished prints have arrived, we can start crafting. First, we stick the finished photo prints on the free inside sides of the box however you prefer. It’s best to use double-sided adhesive tape to avoid ugly glue spots here. Then glue the individual elements together in the center – this is how the typical shape of the explosion box is ultimately created.
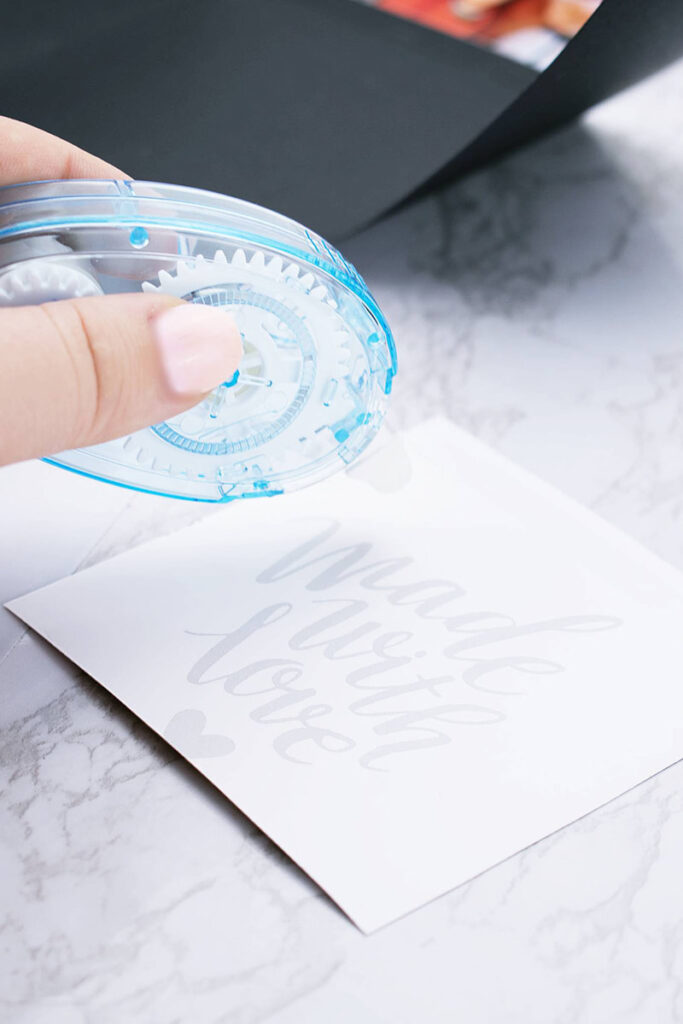
Step #3: Decorate the bare sides
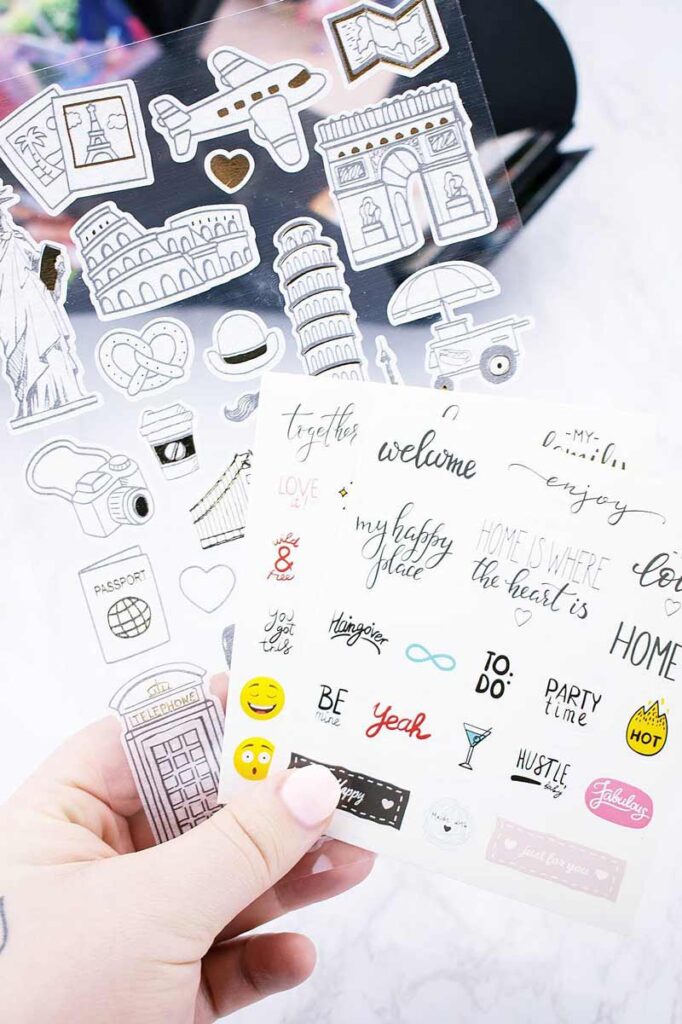
Bare sides can be enhanced with small polka dots or quotes. I opted for a few nice messages and white dots. But be careful; too many different colors and patterns can quickly look chaotic and destroy the overall effect. I finished off the photo look with a few matching stickers. Alternatively, you can also try dried flowers or glitter.
Step #4: The final touches
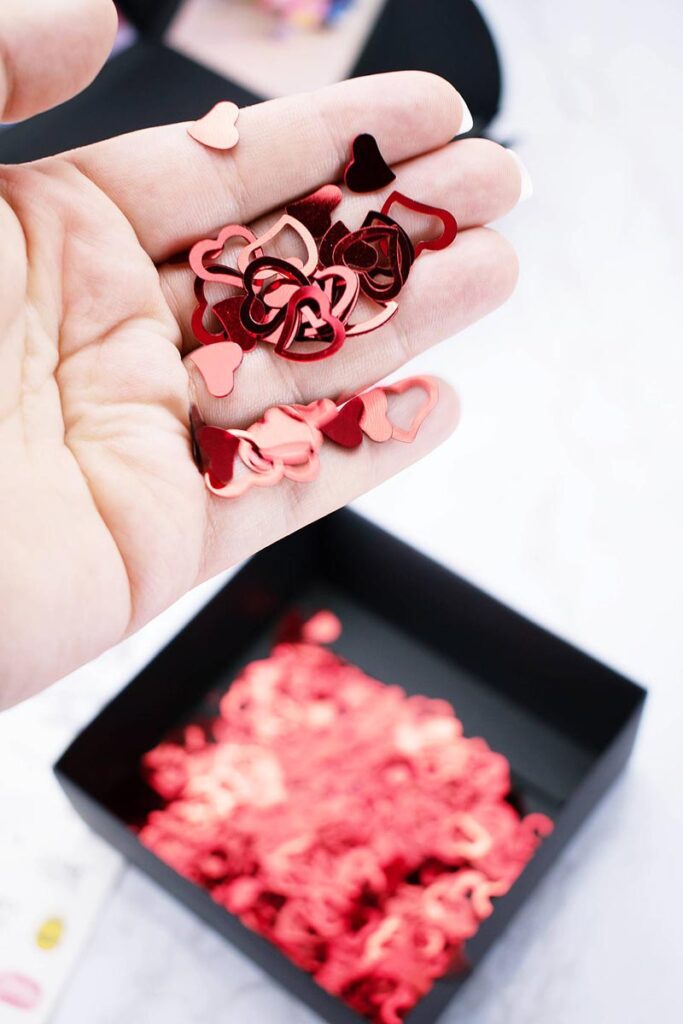
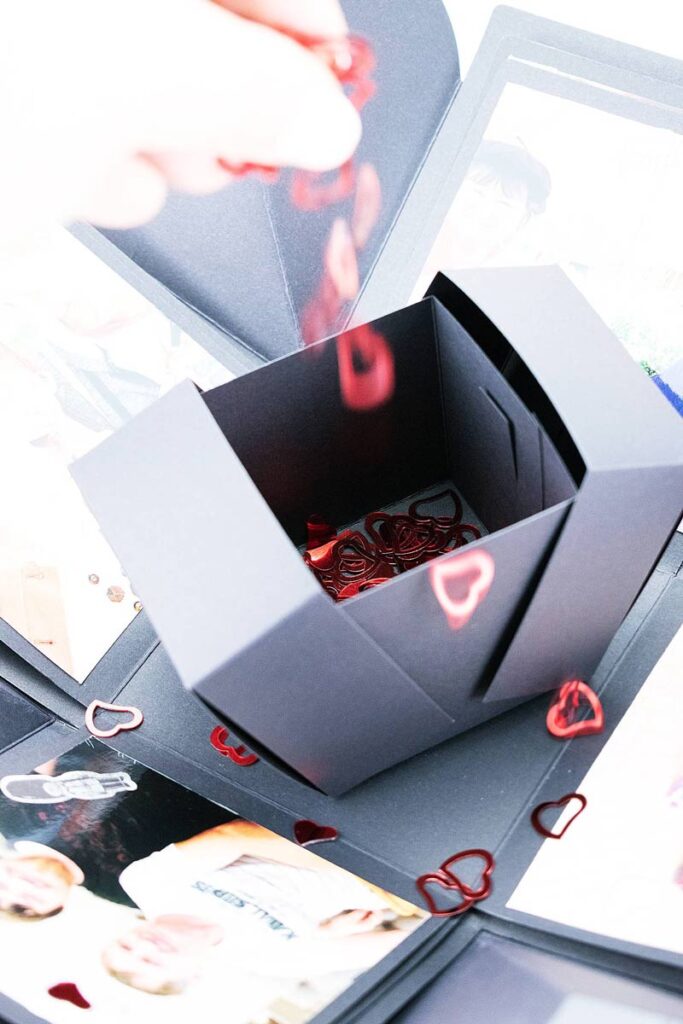
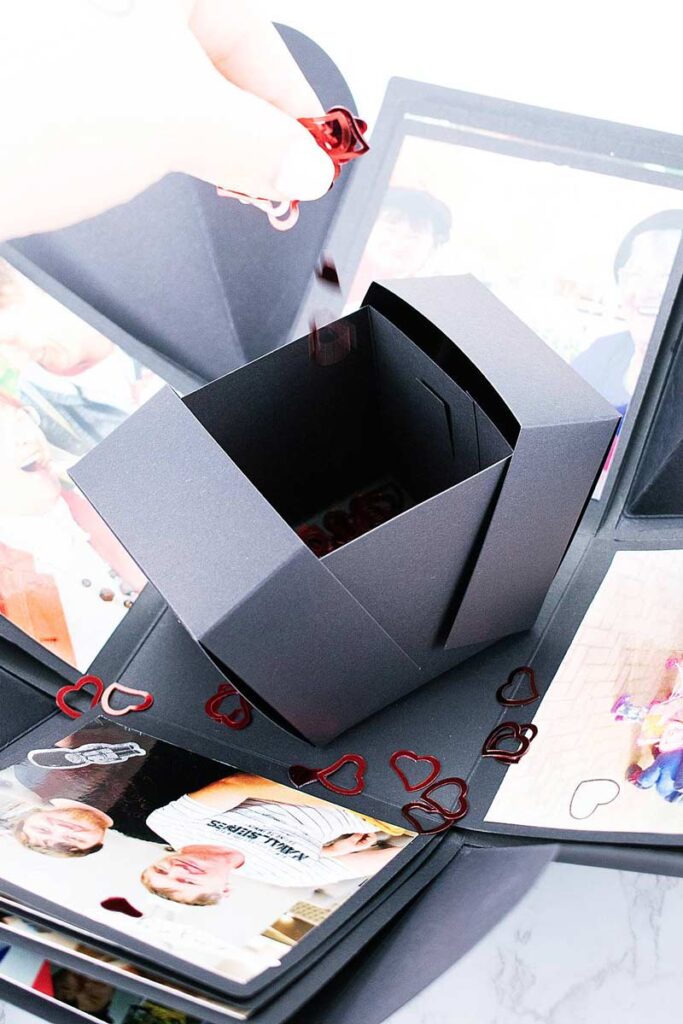
In the middle of the explosion box I also glued a smaller box, inside of which was a cute lucky charm. But the possibilities are endless!
Step #5: Designing the exterior of the box
Finally, you can design the exterior of the box according to your own desires and ideas. It doesn’t matter whether you choose additional photos, a colored ribbon, or a thick bow – whatever‘s beautiful to you, your recipient is sure to find beautiful too!
The ideal personalized Christmas gift
By the way, I used my explosion box for our annual family Christmas Secret Santa. The luck of the draw gave me a very special person who, at 83 years old, has already achieved and seen everything in life.
So the choice of my gift was not difficult: it had to be personal and unique. When selecting the photos, I deliberately focused on the beautiful and, above all, shared moments. In this way, I got to not only invest a lot of personality in to my Secret Santa gift but at the same time, countless stories and emotions. After all, behind every photo print hides a mutually experienced memory, and in my opinion, there can never be enough of them. – Janine
About the author
DIY enthusiast & cat mom, Janine Berger has lots more DIY ideas for families with kids on her (German-speaking) blog, Calistas Traum. Here, you’ll also find the latest natural cosmetics trends, culinary recipe ideas, as well as open and honest conversations about topics like depression, miscarriage, and death.
The copyright of the images on this page belongs to Janine Berger / Calistas-Traum.de
Read Janine’s article on upcycling an old frame into a pin board key hanger next!
Comments are closed.