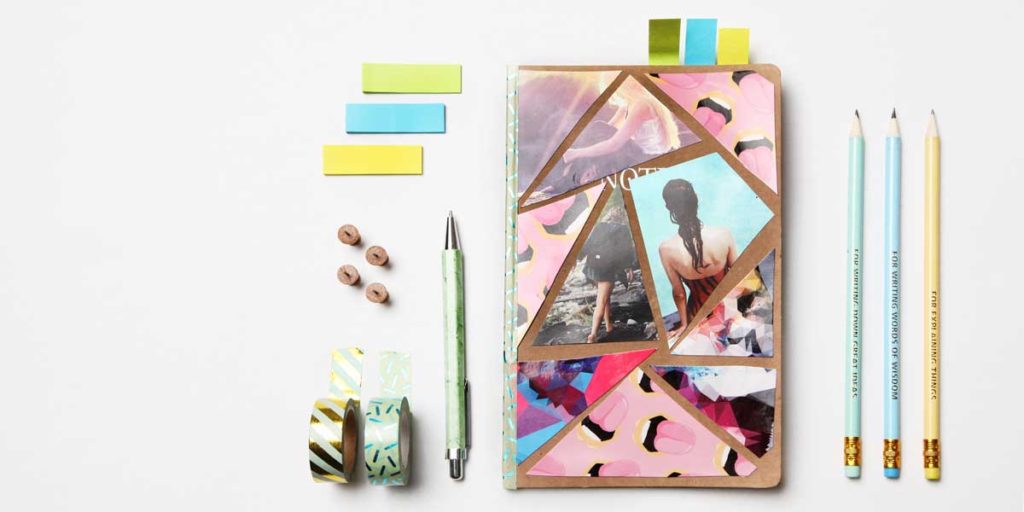
The notebook – just about everybody has one! Whether in the form of an academic planner, a diary, or just a colorful hodgepodge of shopping lists, telephone numbers, and to-do lists – these daily companions can be found in nearly every pocket.
Unfortunately, it’s not uncommon for the cover design to leave much to be desired, and the notebook just simply isn’t custom designed. No more of that! I’ll show you how you can craft and pretty up your notebook cover design in just 10 minutes – I promise!
Tutorial step 1 – notebook DIY
What you’ll need

This is a short list of the things you’ll need for crafting your notebook DIY project: your notepad, your favorite photos and postcards, glue and scissors, a ruler and pencil, and a sheet of paper to transfer the template.
Tutorial step 2 – notebook DIY
Measure the book

Let’s begin: before you lies your notebook. So far, so good! Grab your ruler and measure the sides of the book so you can transfer the measurements to the sheet of paper (if you have a sure and steady hand, you can also place the book on the paper and draw around it; virtual notebook crafting made easy!).
Tutorial step 3 – notebook DIY
Make a template for the photos

In the next step, the paper will serve as a template for the photos. Divide the space on the paper into several shapes using the ruler and pencil. I like triangles, but naturally any shape that you like and that fits with your pictures and postcards is allowed.
The spaces between the individual areas can be larger or smaller – whatever you like. I leave about 5 millimeters of space in-between.
Naturally, there are no limits to your creativity in a notebook DIY cover design. You can use your nicest photos and postcards for the cover, but other elements can be used to adorn and personalize the notebook, like maps, letters, or tickets.
Tutorial step 4 – notebook DIY
Cut out your favorite photos

After you’ve neatly cut out the individual parts of the template with the scissors, place them on the photos. Please make sure that the paper covers the important parts of the photos, or else you’ll end up cutting out the main parts of the photos – annoying.
Apply the templates to the respective photos with the pencil, cut out, and done!
Now lay the cut-out photos in front of you so you can arrange them on the cover or back of the notepad. Glue the back side, then glue on all of the other parts one after another, and decorate the entire cover.
Tutorial step 5 – notebook DIY
Crafting your individual notebook DIY- in just 10 minutes

Et voila! I promised that your notebook DIY project would only take 10 minutes, and that the results would look totally customized. Crafting a notebook – it can be fast and easy!
Want more suggestions for a custom notebook design? Try on a cork cover or pretty hand-painted book covers.
They’re also a nice, custom gift idea for family and friends!
I hope to see you again soon in my little, but beautiful, crafting room!
Love, Nadja from MyPostcard


Comments are closed.