

By Melody Peralta
Older millennials have had the unique experience of watching the birth of the digital age. Growing up, I watched as my parents would take our pictures with large, often clunky cameras, and drop off film rolls to our local store to get them developed. I remember my mother pulling out a thick packet full of just-developed photos and us gathering around to relive all the captured moments. When photography went digital, it was great to have the chance at capturing even more memories, but what I miss most is actually having physical pictures to look at and have on display.
That’s why photos as gifts will always be a favorite, nothing beats having photographs of wonderful memories displayed in your home on the daily. This month’s DIY photo box is perfect for gifting the dad and / or father figures in your life for Father’s Day, or simply a fun way to display special memories. Let’s get back to the days of getting our photos printed and part of our homes, instead of having them ‘gather dust’ on our phones or computers! The best part of this DIY is that it’s simple and easily customizable with the variety of photo prints available on the MyPostcard app!
Here are the materials you will need to complete this project…
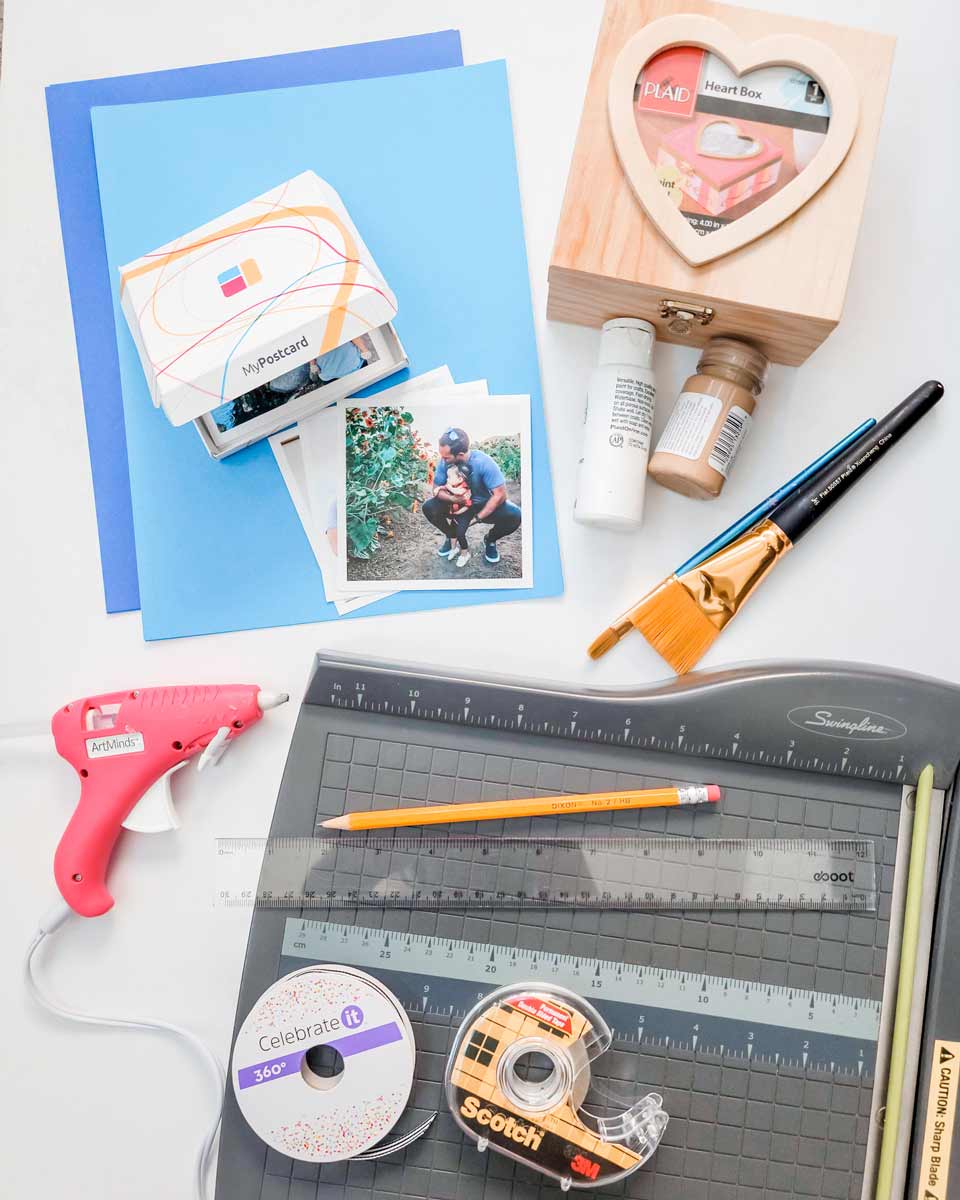
- 5×5 inch wooden craft box with lid (available at most craft stores or online)
- Cardstock
- Glue or double-sided tape
- Thin ribbon or twine
- Hot glue gun and glue
- MyPostcard photo prints in ‘Square’ 3.9 x 3.9 IN size
- Paint and paint brush
- Scissors or paper cutter
- Ruler
- Pencil
Directions for making your accordion photo box:
Step 1
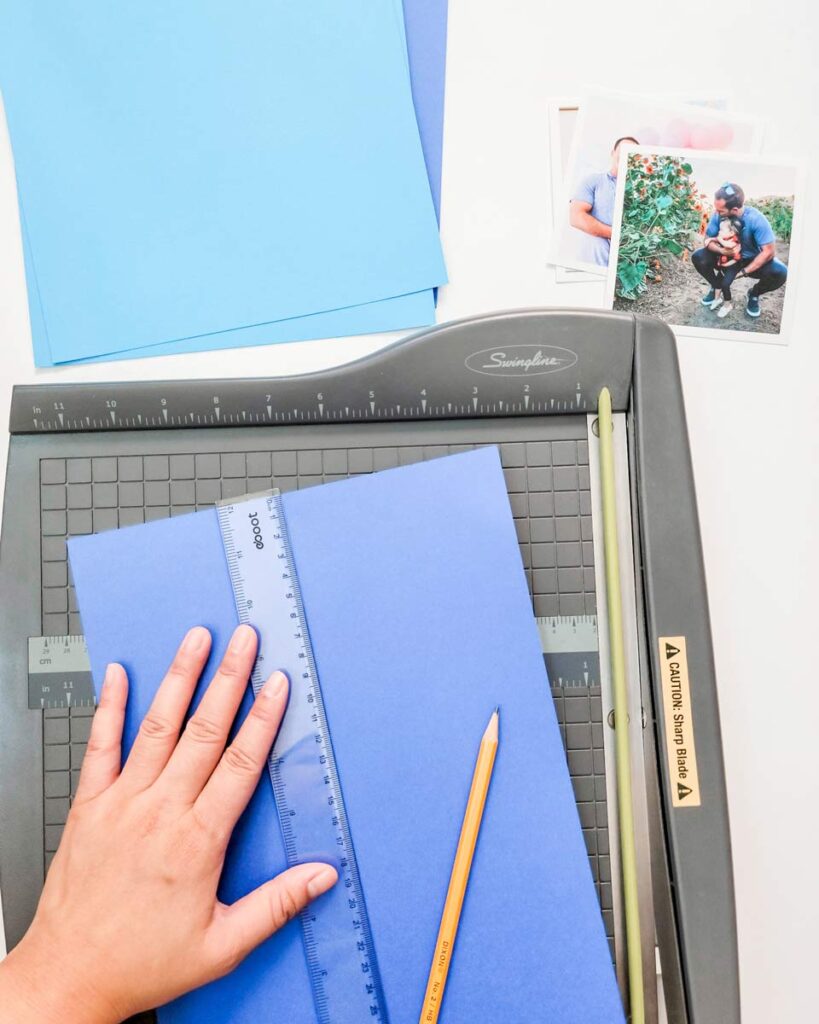
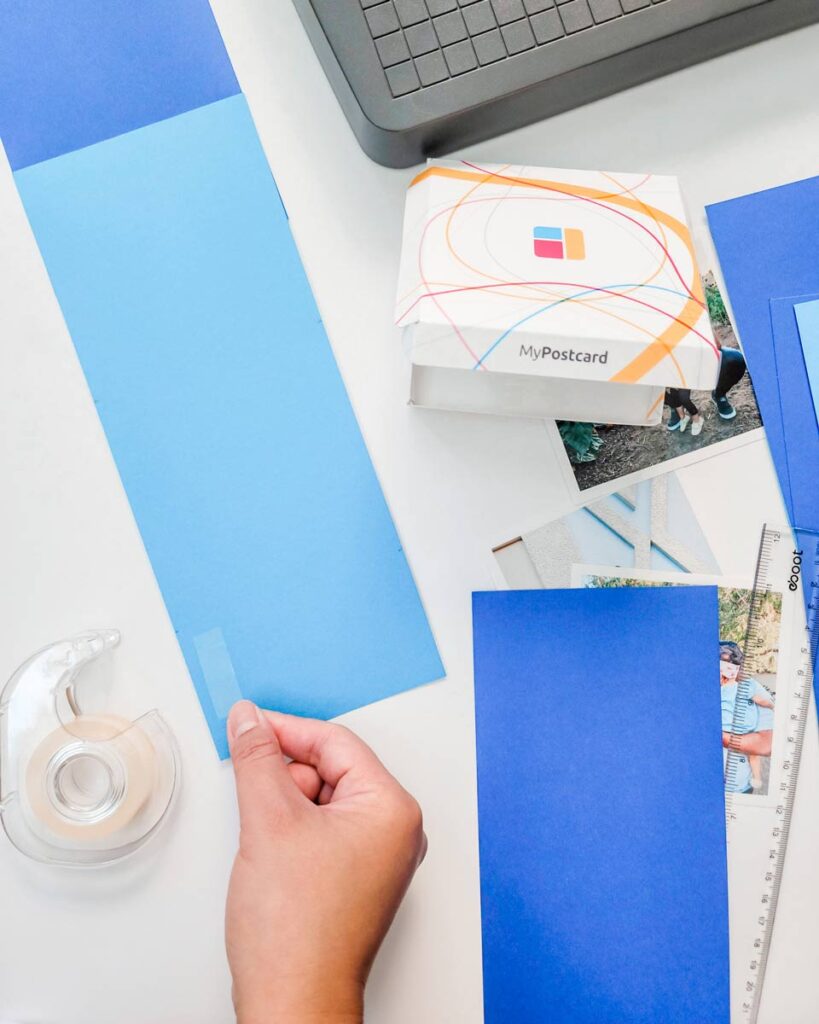
Measure and cut cardstock lengthwise to fit the MyPostcard photo prints. Using 8 ½ x 11 inch cardstock cut them in half lengthwise. Each strip should fit 2 of the 3.9 x 3.9 in photo prints with roughly 2.5 inches left over at the bottom.
[Note – for my project I used 4 pages of cardstock to fit 14 photos and had 1 leftover photo print that I used for the lid of my box]
Step 2
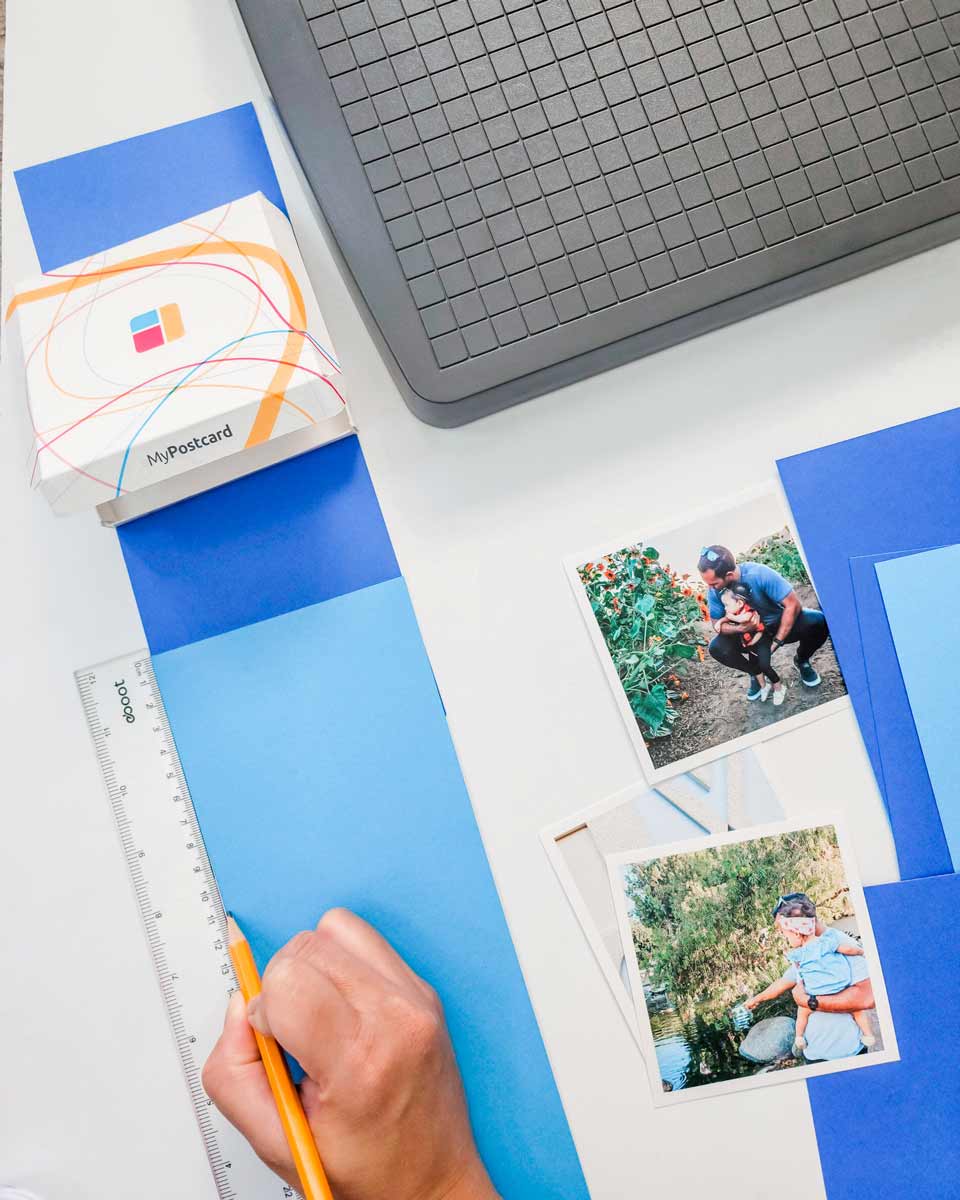
Using a ruler to measure, evenly space out the photos along the cardstock strip and use a pencil to lightly mark where you will be folding. Make sure each square measures the same size.
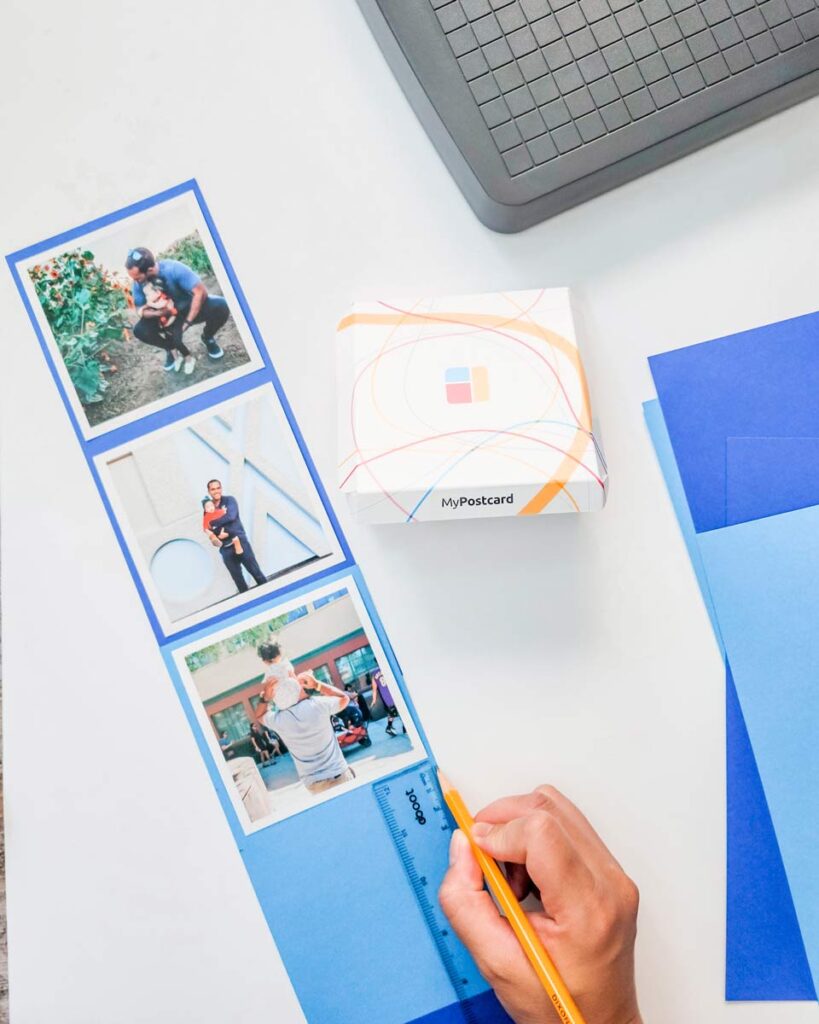
Step 3
Use this 2.5-inch leftover space to attach the cardstock strips together to create a long continuous piece.
Step 4

Fold the cardstock in an accordion fashion (back and forth).
Tip: Use the straight edge of a table to help make the folds, then use the ruler to create a hard crease. Alternatively, you can use a scoring board and a bone folder.
Step 5
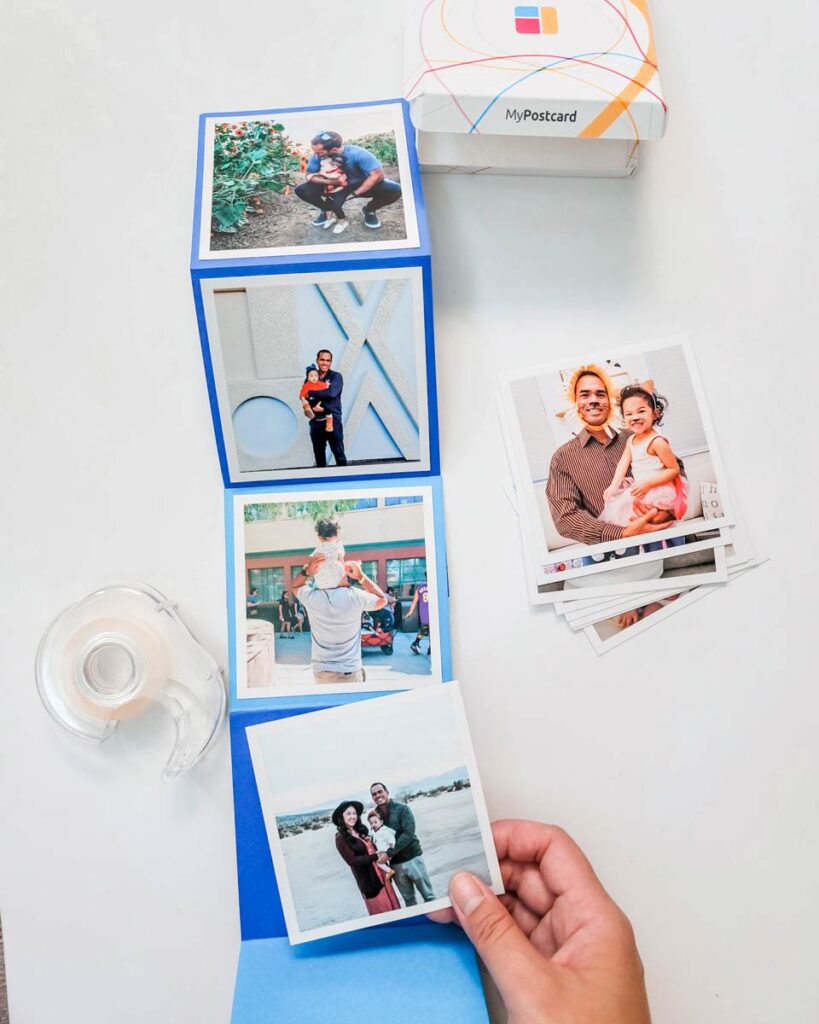
Leave the excess cardstock on the very end of the long strip to attach to inside of the box later. Use double-sided tape or glue to attach photos to the cardstock.
Step 6

Paint and decorate the box and let completely dry.
Step 7
Glue the extra cardstock at the very end of the accordion folded strip to the inside of the box.
Step 8
Attach a small tab of ribbon using hot glue along the edge of the top photo. This will make it easier to lift the photo strip out of the box.
And there you have it!
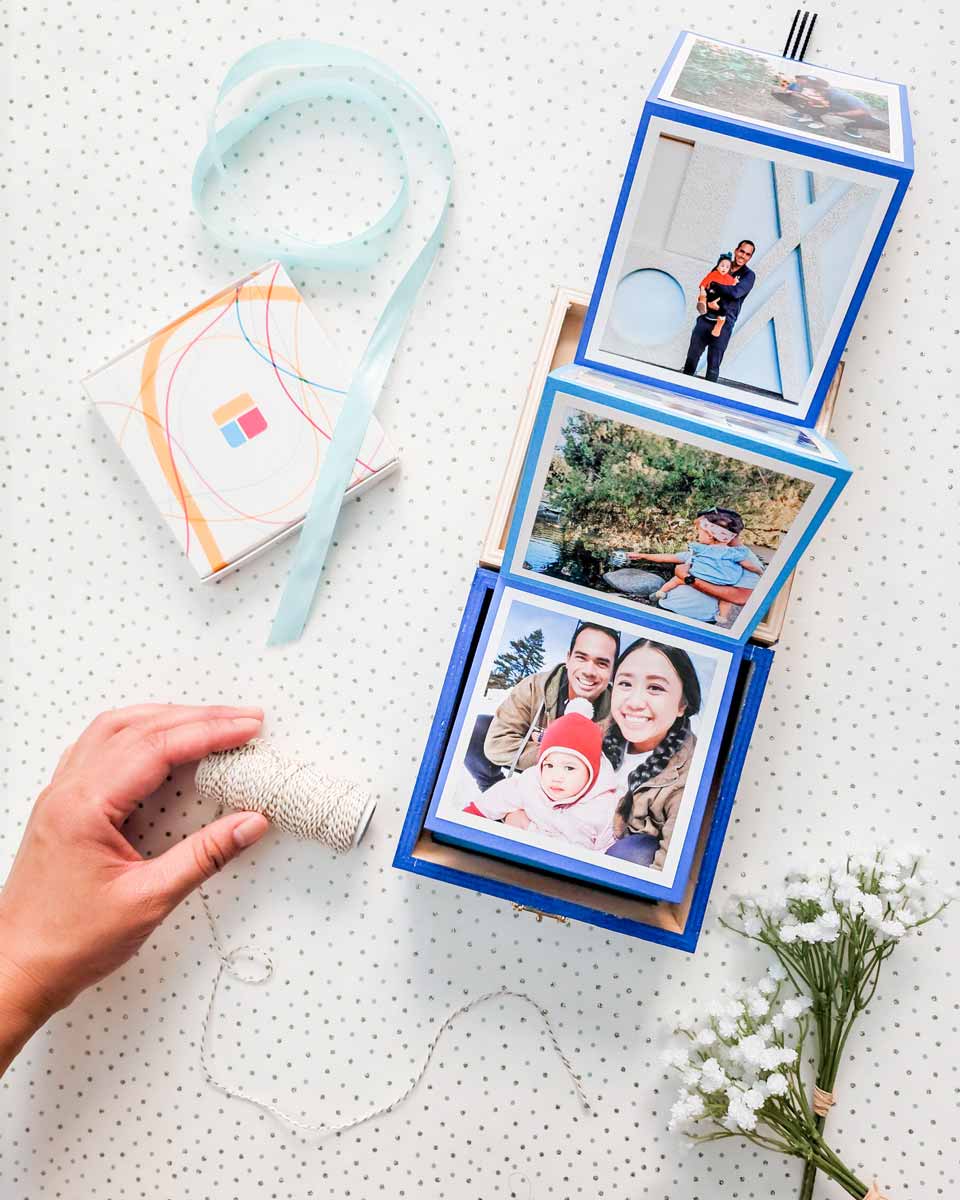
A DIY Accordian Photo Box, perfect for gifting memories! The great thing about this project is that anyone of any skill level can do it. These make such wonderful gifts, especially for special events like Father’s Day, baby showers, graduations, family trips, and the list goes on… Comment down below if you grew up in the era of getting film rolls developed! If not, do you enjoy getting your photos printed for display in your home.
About the author
Melody is a holiday-loving, DIY & craft-making, motherhood, and lifestyle influencer from Southern California. She’s also a military spouse, an elementary school teacher, and has an energetic toddler named Izzy and a baby boy named Max. In her free time, she enjoys cooking, party planning, and dabbling in home decorating. Follow along for more crafting fun on Melody’s Instagram, @melodyinthemaking!
All images on this page are credited to Melody Peralta.
Comments are closed.